
Instant blowing means a dead short — and the car is full of edges
A fuse that survives seconds or minutes suggests overload; one that pops instantly indicates near-zero resistance from the positive feed to ground. In a car that almost always means insulation worn or pinched through against metal: harnesses routed over seat rails, through door boots, under trim screws driven back in a hair off-line. The electrical fault is trivial — finding the centimeter of damaged wire is the actual work.
The method is isolation. With every load disconnected the fuse should survive; each branch is then restored alone until the fuse dies again. Two rounds of this typically reduce 'somewhere in the car' to 'this branch, downstream of this connector' — after which the ohmmeter and a flashlight finish the job without sacrificing more fuses.
Prepare before testing
- A handful of correct-rating fuses — isolation testing spends a few; never substitute a higher rating to save them
- Digital multimeter — resistance mode finds the short without burning fuses once the branch is known
- Trim tools and flashlight — the pinch point hides under panels at hinges, rails and screw lines
- Heat-shrink, solder and split loom — the repair is a proper splice plus armor, not tape alone
Use only the specified fuse rating — ever. Disconnect the kit's feed before resistance testing, and treat any melted or stiffened harness section as replacement, not repair.
Check these areas first
- Pinched harness at a door hinge or boot. the highest-flex point in the run; insulation cracks and the conductor finds the door shell
- Trim screw through the loom. a screw refitted after panel work spears the hidden wire behind it
- Chafed insulation at seat rails or crossmembers. movement plus a sharp edge wears through in months
- Crushed strip or connector in a footwell. a strip stepped on or a connector crushed under a kick panel shorts internally
- Reversed or shorted splice from installation. a fresh install that blows immediately usually wired positive to a grounded conductor somewhere
Diagnostic procedure
Confirm the rating, strip the circuit to nothing, rebuild it branch by branch, then let the ohmmeter walk you to the damage. No step requires more than patience and fuses.
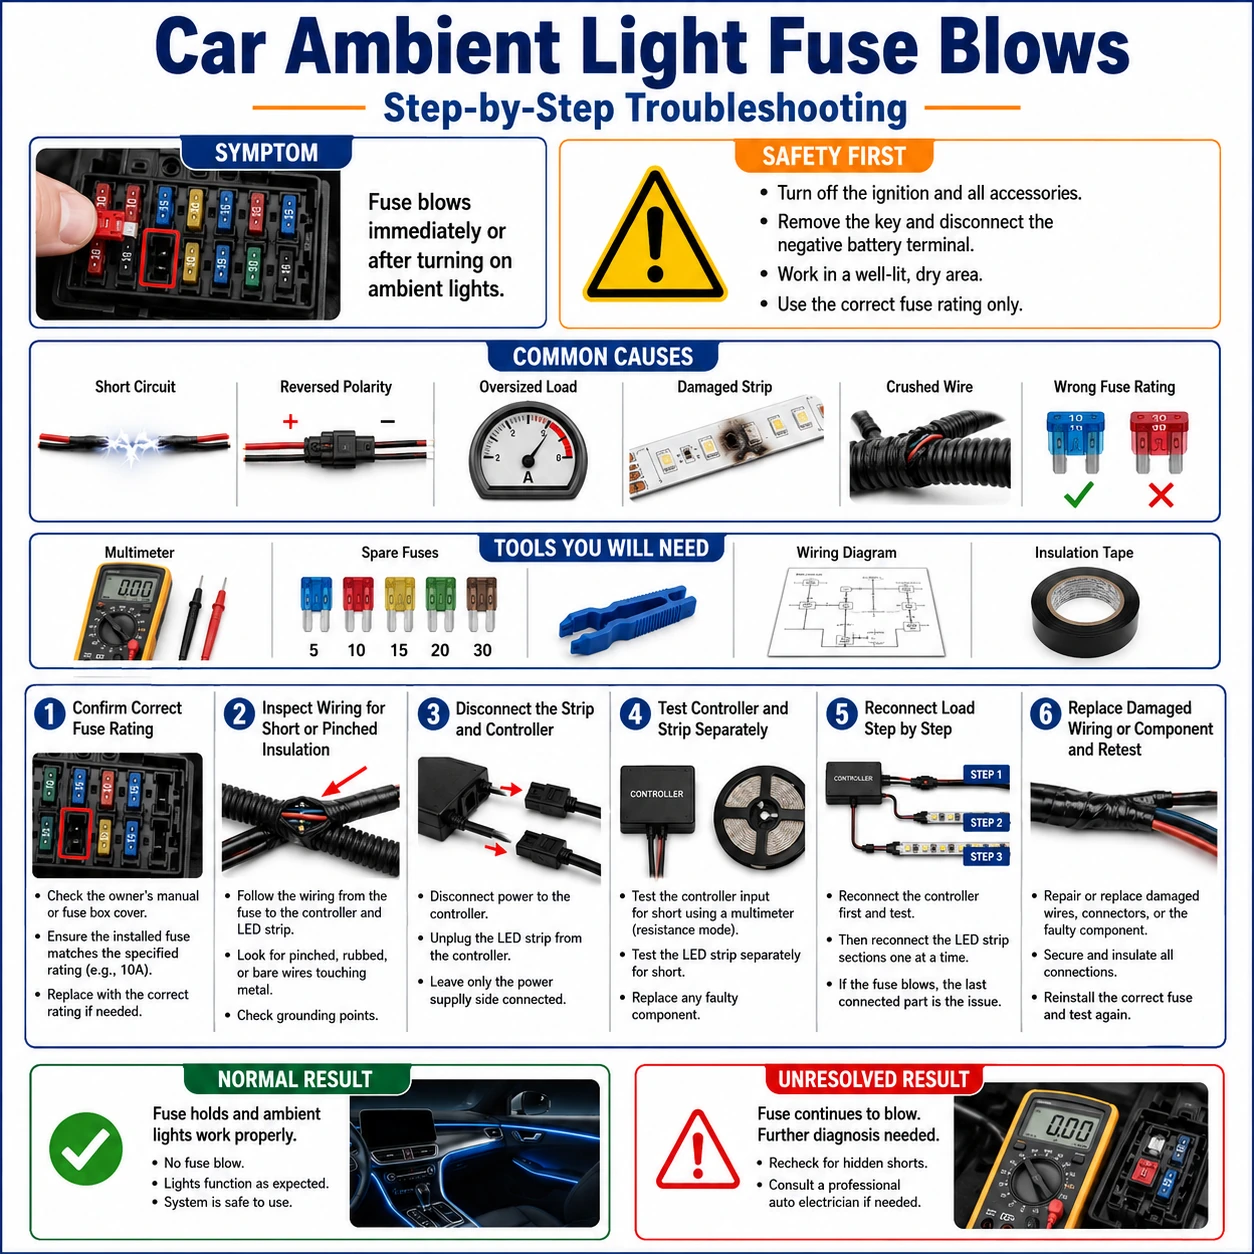
Verify the correct fuse rating first
Check the kit's manual or the controller label for the specified fuse. If a previous owner fitted a larger one, the wiring may already carry damage — inspect the feed's full length before continuing. Fit the correct rating for every test that follows; the fuse is your instrument now.
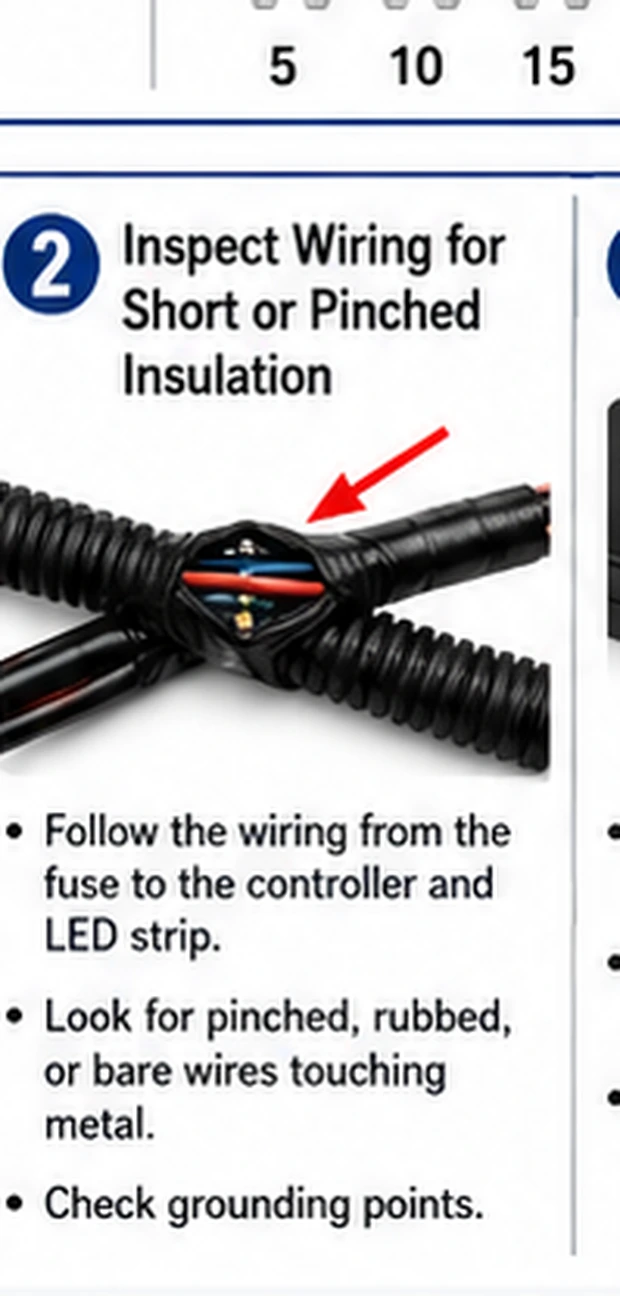
Disconnect all loads, then test the bare feed
Unplug the controller and every branch so the fuse feeds nothing but wire. Fit a fresh fuse and power at ACC. If it still blows, the short lives in the feed run itself between tap and controller plug. If it holds, the feed is clean and a load owns the fault.
Reconnect one branch at a time
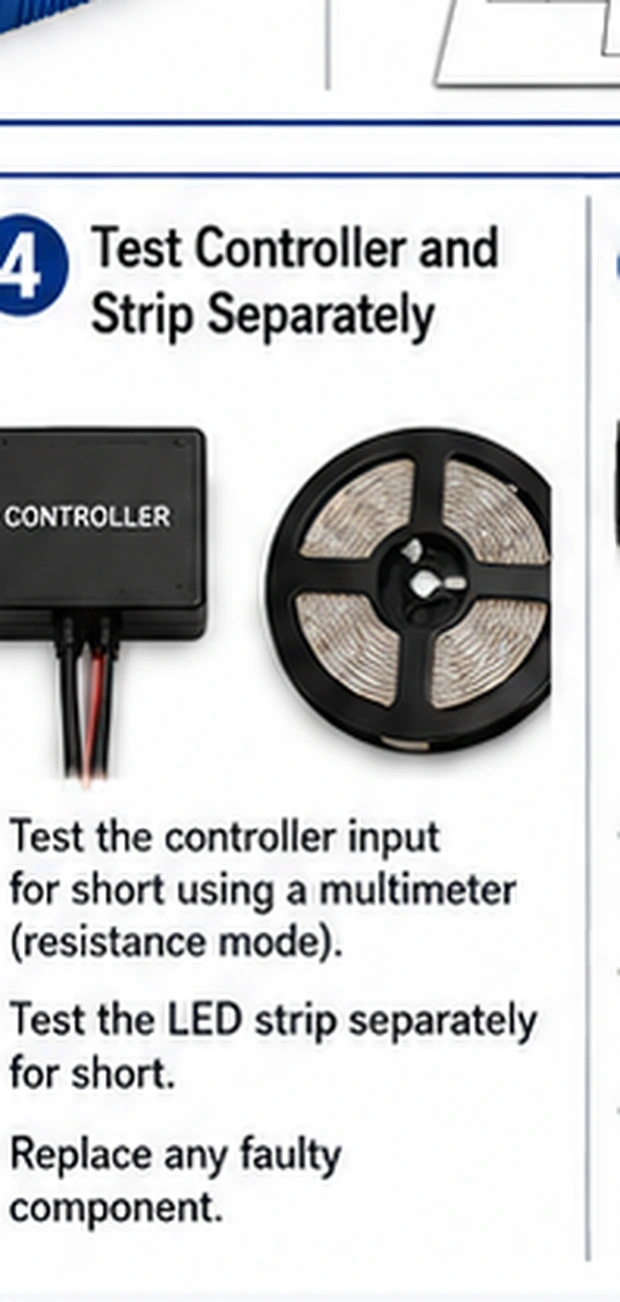
Restore the controller alone, test, then add one door or footwell branch per test with a fresh check each time. The fuse that blows on a specific reconnection convicts that branch. Reconfirm by removing it: system healthy again with all other branches live seals the verdict.
Measure the guilty branch's resistance to ground
Fully disconnect the convicted branch from power. Meter from its positive conductor to bare chassis: a dead short reads near zero ohms. Flex the harness along its run while watching the meter — the reading jumping as you bend a section places the damage inside that section.
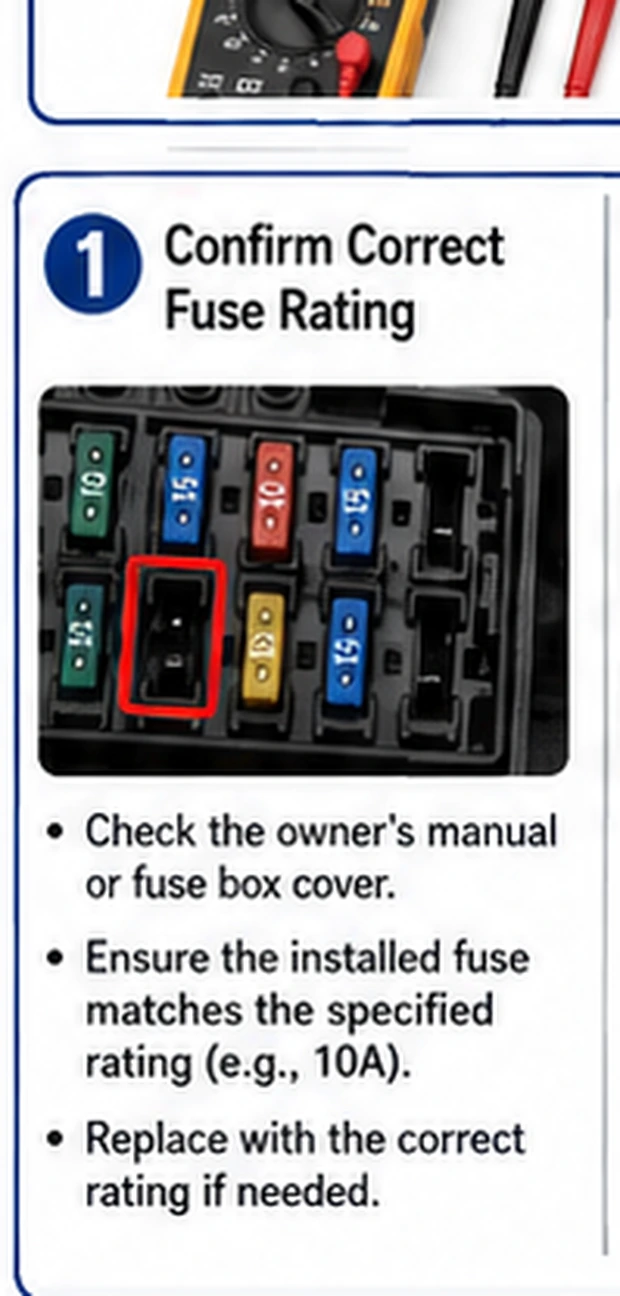
Inspect the classic pinch points
Open the run at its mechanical hot spots: the door-jamb boot, hinge area, seat rails, any trim screw along the path, and anywhere the loom crosses a metal edge. Look for flattened loom, discolored insulation, or copper glinting through. The damage is usually within centimeters of where flexing moved the meter.
Repair, armor, and re-route
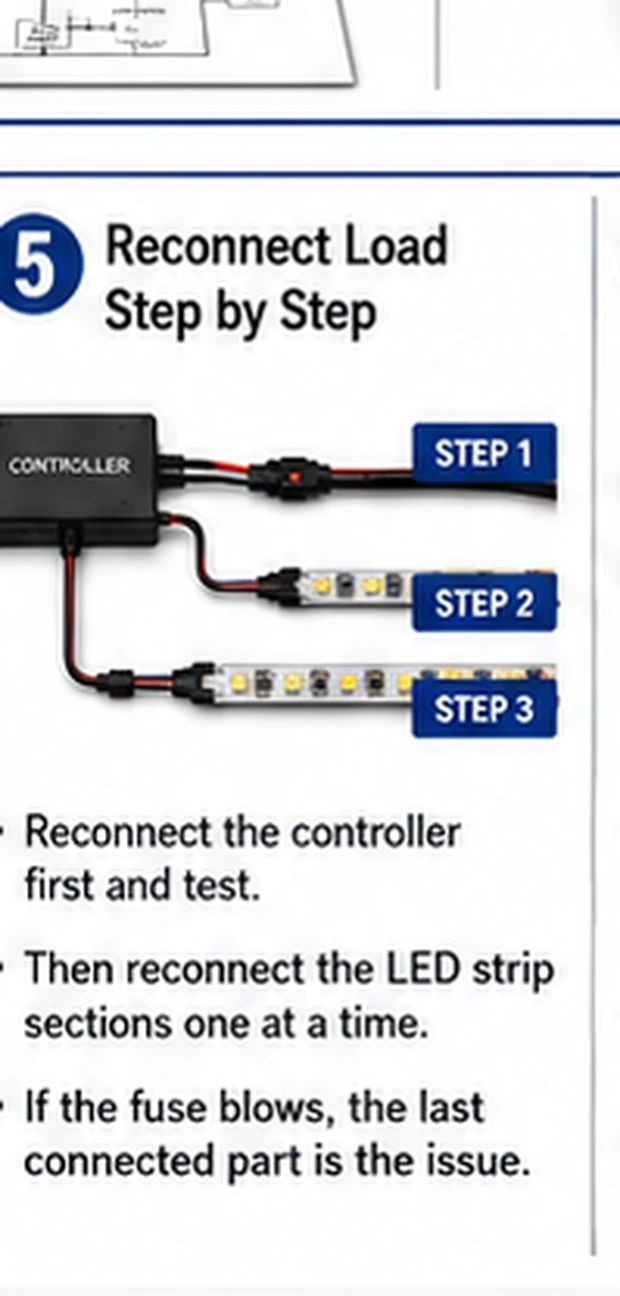
Cut out the damaged section and splice in matching-gauge wire — soldered, heat-shrunk, then wrapped in split loom. Re-route so the repaired section clears the edge that caused it, with a service loop at hinges. Refit the correct fuse and test all branches at full white for several minutes.
The one shortcut that turns a fault into a fire
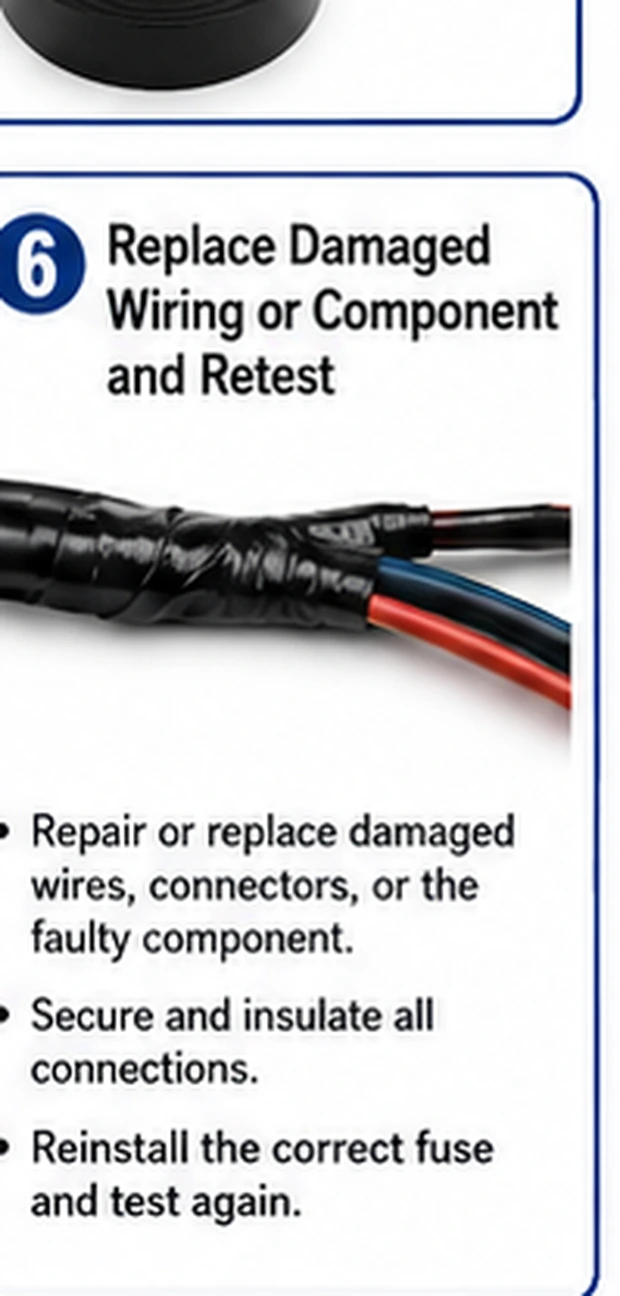
A fuse rated above the wiring's capacity does not fix a short — it relocates the fusing function into the harness itself. Automotive ambient circuits are wired in thin gauges chosen against the specified fuse; at double the rating, a dead short can push the copper past insulation temperature in seconds, inside door cavities lined with foam and fabric. Every step of this guide costs less than that outcome. If a correctly rated fuse keeps blowing after a competent repair, the answer is more diagnosis, never more amps.
When it blows on the very first power-up
A kit that has never once worked inverts the odds: suspect the installation before the hardware. The common culprits are a fuse tap oriented backwards putting unfused supply through the kit, positive and ground swapped at a splice, or a branch plug forced in rotated. Undo the install to the controller-only state and rebuild connection by connection — the same isolation logic, applied to work that is minutes old instead of years.