
The damage happens while it is powered and wet
Water on its own does little to a de-energized strip; wet copper with voltage across it electrolyzes within hours — the pads grow green-white crystals, thin traces etch away, and nearby LEDs fail one by one over the following weeks. This is why the first minute matters more than any later repair skill: kill the power the moment ingress is suspected, before inspecting anything.
Be realistic about outcomes. A strip that took a splash at a connector and was cut off quickly usually survives intact. A run that stayed powered through a rainy night with water inside the sleeve is typically salvage: the sections that measure clean today may still carry corrosion seeds, so plan on cutting generously and resealing properly rather than patching minimally.
Prepare before testing
- Multimeter with continuity/resistance mode — shorts and etched-open traces are found by meter, not by eye
- Isopropyl alcohol (90%+) and a soft brush — displaces water and dissolves early corrosion residue
- Sharp scissors — to cut away flooded sections at the marked lines
- Silicone sealant and adhesive-lined heat-shrink end caps — the reseal is the actual repair — skipping it schedules the next failure
- Desiccant packets or dry rice tub (48 h) — for drying sleeved strips where towels cannot reach
Never power a strip to 'see if it still works' while any moisture remains — that one test is what converts wet-but-fine into corroded. Dry first, measure second, power last.
Check these areas first
- Unsealed cut end. field-cut strips are rarely re-capped; the open sleeve end wicks water meters into the run
- Connector as the entry point. clip connectors interrupt the factory seal and sit at gravity's collection point on most installs
- Aged or UV-cracked coating. IP65 silicone embrittles outdoors in two to three summers and cracks at bends
- Condensation inside the sleeve. day-night temperature cycling breathes moist air into 'sealed' sleeves near coasts and bathrooms
- Mounting in a water path. strips laid in gutters, sill channels or grout lines sit in standing water no rating survives
Diagnostic procedure
The order is the treatment: isolate, assess the spread, dry completely, measure, amputate, reseal. Skipping ahead to power-on testing is the classic way to lose the whole strip.
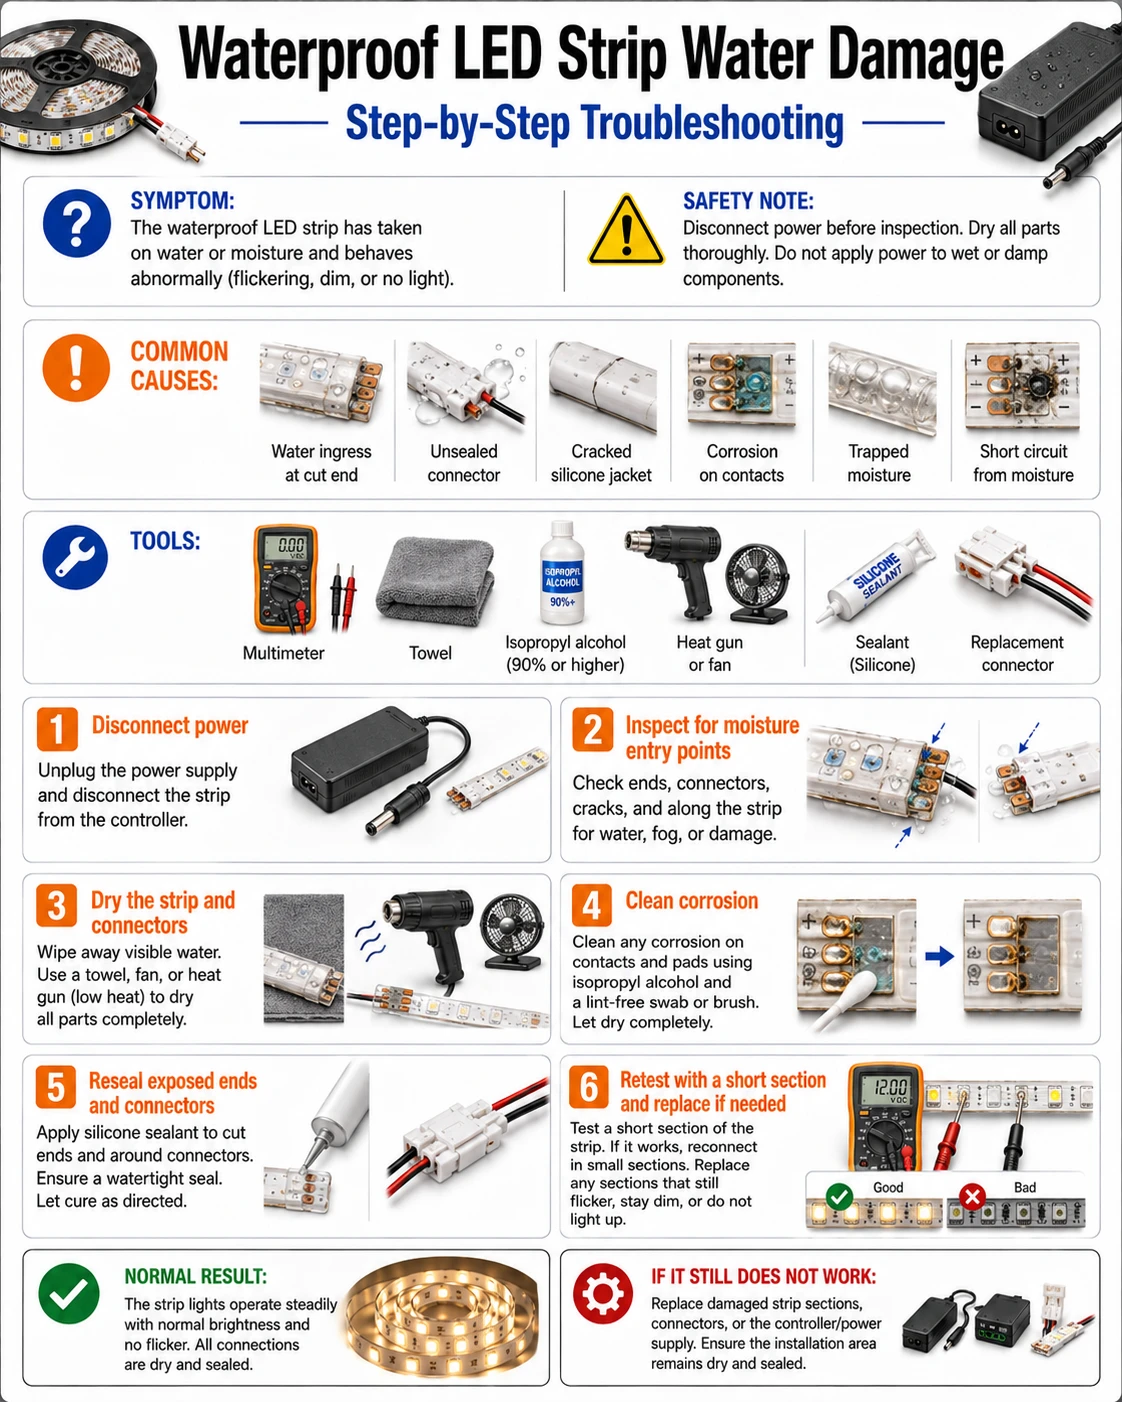
Cut power at the source immediately
Unplug the adapter or switch off the circuit — not just the app or remote, which leave the strip energized. If the strip is on a smart plug, physically remove it. Only then handle the strip: with voltage removed, water stops being destructive and becomes merely inconvenient.
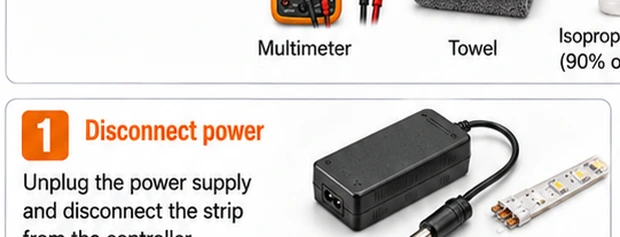
Map how far water traveled
Look through the sleeve for droplets, fogging, and the tide-marks of dried mineral film; tilt the strip and watch for movement. Mark the farthest visible reach, then add a generous margin — capillary wicking inside a sleeve runs beyond what is visible.
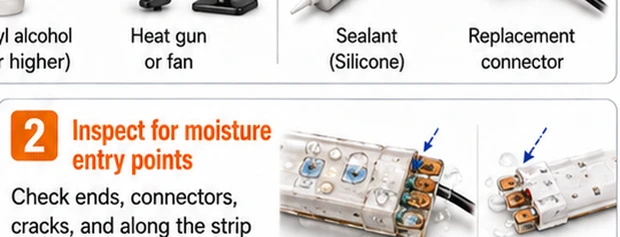
Dry it beyond 'looks dry'
Detach the strip if possible. Flush wet zones with isopropyl alcohol — it displaces trapped water and dries residue-free — then leave the strip in a warm, ventilated spot for 24–48 hours, or sleeved sections in a tub with desiccant. Heat guns above gentle-warm distort the sleeve and pads; skip them.
Measure before any power-on
With the meter on resistance across + and – at the strip head: a reading near zero ohms is a short — do not power it. Also check continuity along each rail through the previously wet zone; an etched-open trace reads open even though the strip looks intact. Note every section that fails either test.
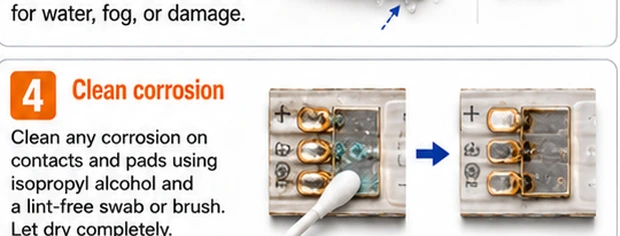
Cut away corroded sections
Any section with crystal growth on pads, blackened traces, or failed measurements gets cut out at the marked lines with margin on both sides — corrosion under intact-looking coating continues to spread after drying. Splice remaining good sections with soldered joints, not clips, in any run going back outdoors.
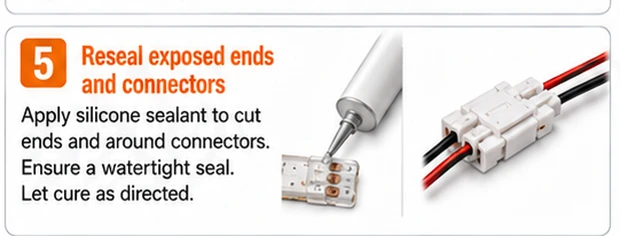
Reseal as if the repair were the install
Rebuild waterproofing at every new joint and end: adhesive-lined heat-shrink or silicone-packed end caps on cut ends, sealant over splices, and reroute or shield the original entry point — the same flaw will flood the same spot again. Then power on at low brightness and inspect for hot spots for the first several minutes.
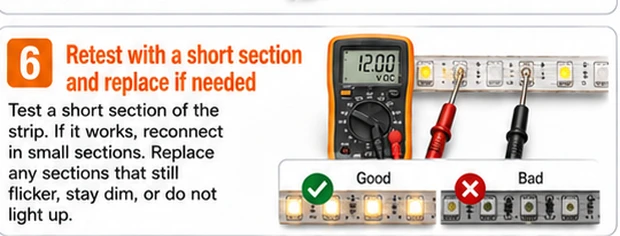
When drying is not saving
Three findings tip the verdict from repair to replace: corrosion visible at multiple points meters apart, meaning water traveled the full sleeve; any burnt smell or heat-marked section, meaning it shorted while wet; and a strip that measured fine, ran for a week, then dropped sections — the signature of corrosion that outran your cuts. Salvaged strips also make fine indoor donors even when their outdoor career is over.
Outdoor runs that stay dry
IP ratings describe the strip as manufactured, not as installed. The install decides longevity: seal every field cut the day it is made, mount connectors pointing down so they shed rather than collect, keep the run out of standing-water paths, and put outdoor strips on a supply with an inline fuse so the next ingress trips safely instead of cooking quietly.