
The strip follows the back panel, not the diagonal
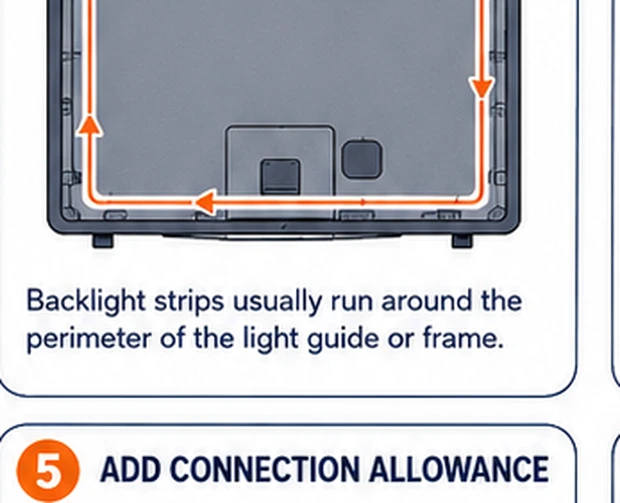
Screen inches describe the front glass corner to corner. The strip's world is the back: a smaller rectangle than the glass, interrupted by port bays, VESA bosses and the stand's spine, and offset inward from the edges so the glow throws evenly. Two TVs of identical advertised size can differ by most of a meter in usable adhesive path, which is why kits sized 'for 55–65 inch' disappoint at both ends of their range.
The layout decision comes before arithmetic: four sides gives the fullest halo but must negotiate the bottom's obstacles; three sides (both verticals plus the top) is the standard compromise that clears stands and cable spaghetti. Which one you choose changes the formula, the corner count, and where the controller's lead needs to land.
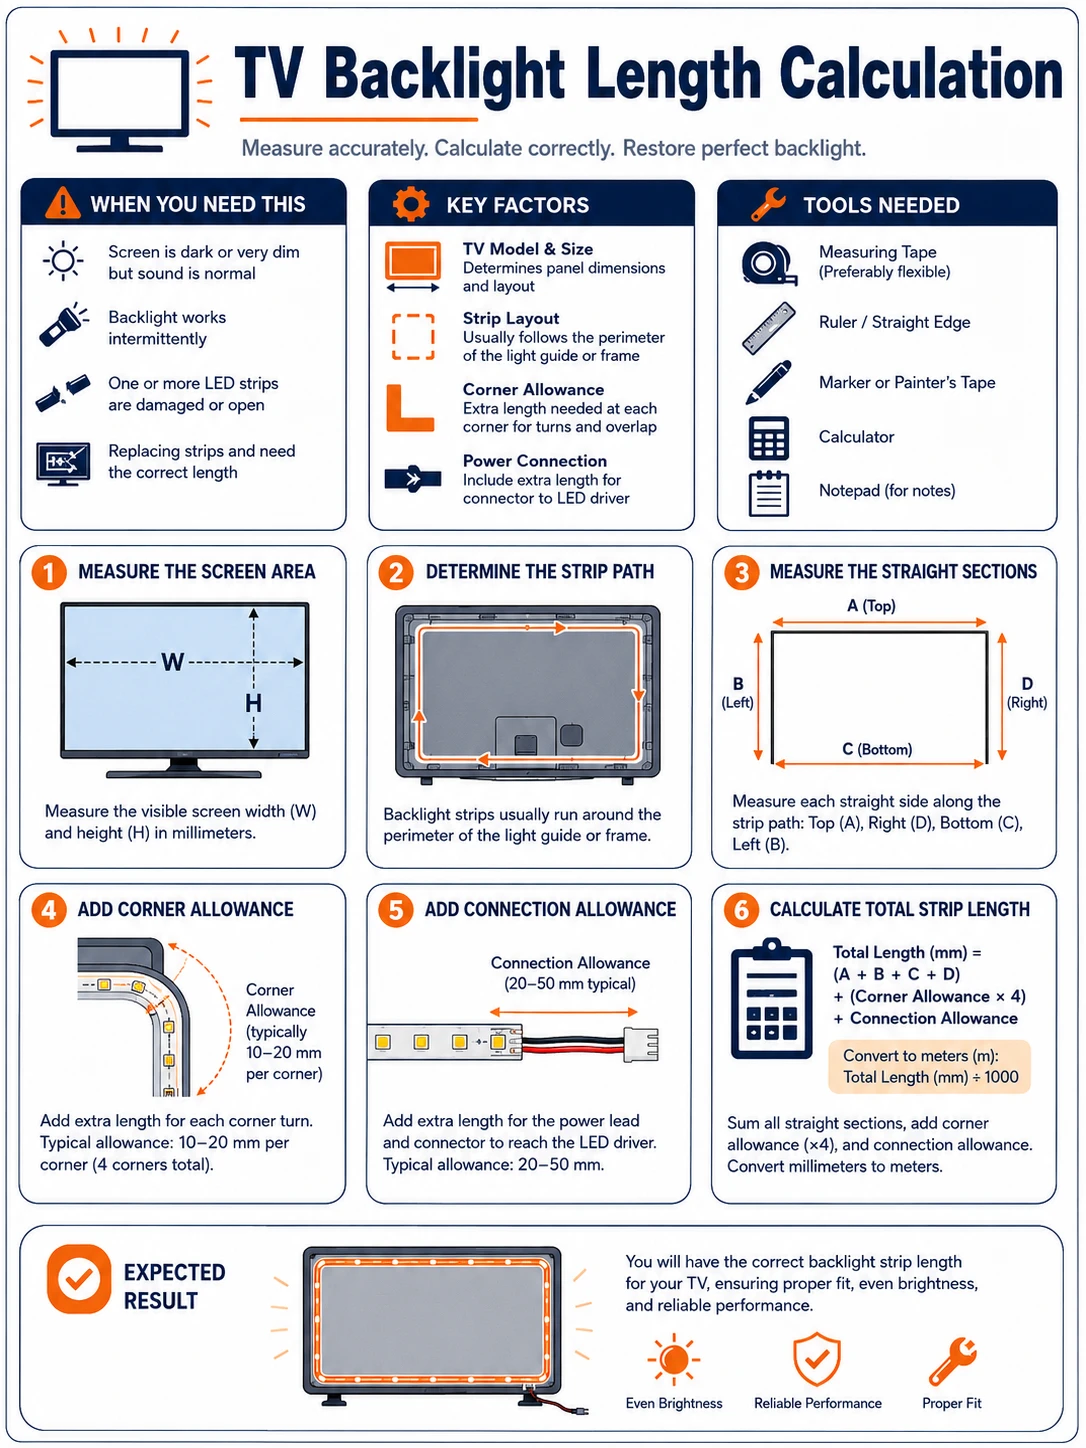
Prepare before testing
- Soft tape measure — rigid tapes bridge over recesses and lie about the path length
- Masking tape and a marker — lay out the actual route and its corner points before measuring it
- The TV's rear within reach — measure mounted if wall-mounted — dismounting changes the accessible path
- The kit's spec sheet — cut intervals, per-meter pixel counts and lead lengths all constrain the order
The hazard is the TV, not the electronics: measure a wall-mounted set without loading the mount, and get a second pair of hands before tilting or lifting a large panel.
Check these areas first
- Ordered by screen inches. the diagonal is the one measurement the strip never follows
- Bottom edge assumed usable. stands, port bays and IR windows evict the strip from much of the bottom on most sets
- Corners uncounted. each fold or corner connector eats length the straight-line sum ignores
- Cut units ignored. analog strips cut at fixed intervals; addressable kits come in pixel segments — neither trims to arbitrary lengths
- Controller lead unplanned. the strip's start must reach power and controller; a perfect loop with its plug on the wrong side fails anyway
Diagnostic procedure
Choose the layout, walk the real path with tape, do the arithmetic with allowances, then reconcile against the product's cut units — and dry-fit before any adhesive commits.
Decide three sides or four
Inspect the TV's bottom edge: stand spine, port bays, IR receiver, and how close the panel sits to any cabinet. If the strip can run the bottom with only short detours, four sides is available; if the bottom is an obstacle course, choose three sides deliberately now — the formula, corners and start point all depend on it.
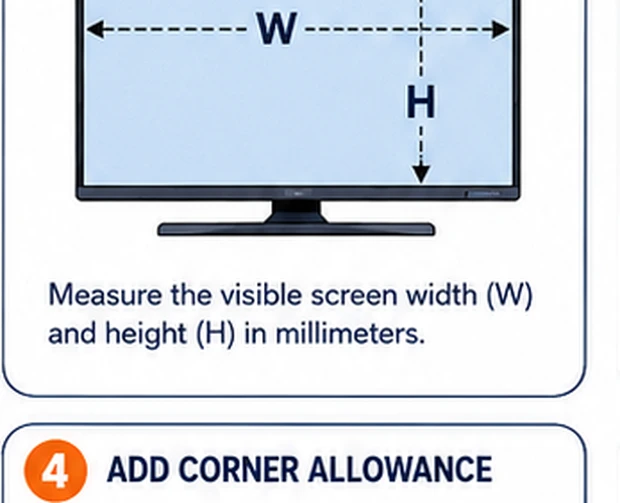
Tape out the route and measure it
Lay masking tape along the exact intended adhesive line — inset from the panel edges, dodging bosses and bays, with corner points marked. Then measure the taped path side by side with the soft tape: width W along top (and bottom if used), height H per side. These are the only numbers the order should be built from.
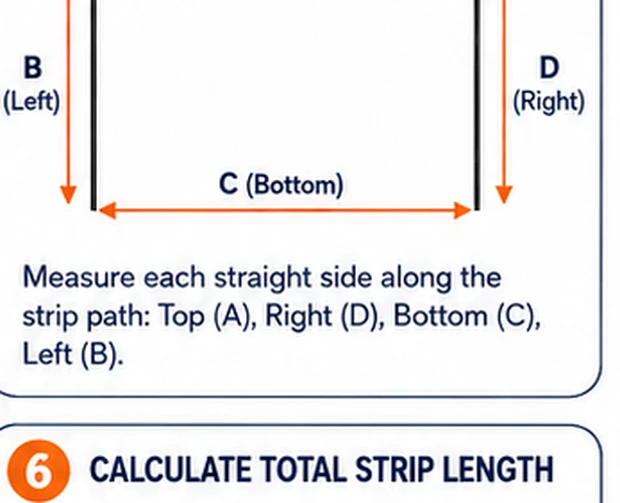
Compute the base length
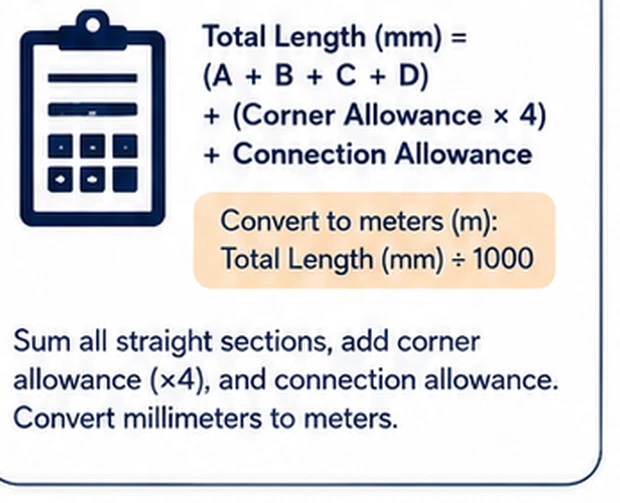
Four sides: roughly 2×(W+H). Three sides: 2H + W. Keep one unit throughout (centimeters recommended) and write the arithmetic down — the note settles later doubts at the checkout page when kit lengths are in meters and the mind is in inches.
Add corner and connection allowances
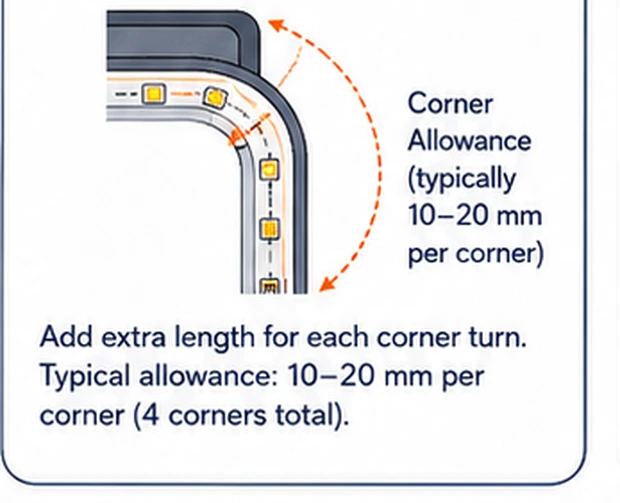
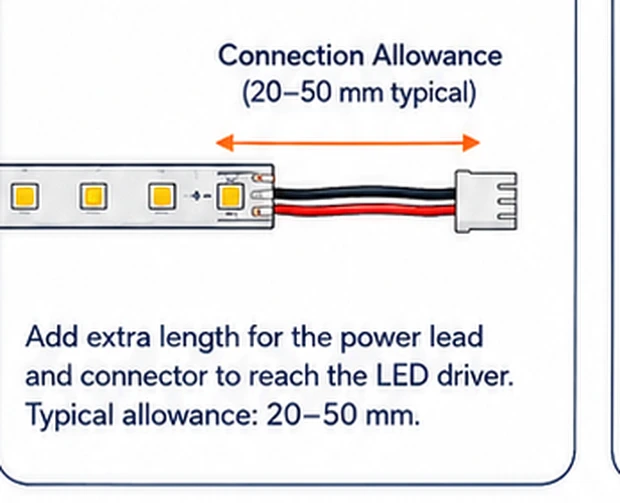
Add a modest allowance per corner — folded corners consume a little length, corner connectors more — plus the run from the strip's start to where the controller and power will actually sit. Resist over-ordering 'to be safe': surplus strip must go somewhere, and doubled-back LEDs behind a TV build heat exactly where adhesive is trying to hold.
Reconcile with cut units and pixel segments
Check the product's granularity: analog strips cut only at marked intervals (commonly a few centimeters); addressable kits sell in fixed pixel segments that must not be cut arbitrarily, and their controllers expect specific counts. Round your total to the nearest legal cut or segment above the requirement, and confirm the kit's controller supports that count.
Dry-fit the whole loop before peeling anything
When the kit arrives, tape it along the route with masking tape — adhesive untouched. Verify corners land where planned, the start reaches the controller, no section doubles back, and the glow clears the panel edges evenly at a test power-up. Only after the dry fit survives scrutiny does the backing paper come off, one side at a time.
Where on the back panel the line belongs
How far the strip sits from the panel's edge shapes the halo: tight to the edge throws a thin, sharp rim of light; inset several centimeters spreads a broader, softer wash. Distance from the wall matters equally — the glow needs wall to land on, so sets mounted nearly flush produce a cramped halo whatever the strip does. The taping step is the moment to choose: run the tape at the inset that suits the room, view the TV from the sofa with a lamp mimicking the glow line, and adjust before the measurement freezes the decision into an order.
Reading a kit listing with your numbers in hand
With a real path length, listings decode quickly: a kit's stated length must meet your total after its own corner treatment (some route corners with connectors that add none of their length to coverage); its power spec should comfortably drive that length at the brightness you intend; and for sync kits, the zone count should divide sensibly across your sides. When a listing's size chart says 'for 55–65 inch', treat it as marketing weather — your tape measure already produced the only number that fits your TV.