
The arithmetic is easy; the judgment is the product
The core is genuinely four lines. A strip's label gives watts per meter at rated voltage; length multiplies it into total watts; a margin of 20–30% covers aging, heat and the label's optimism; and current — the number fuses, wires and connectors care about — is watts divided by volts. A 5-meter 12 V strip at 10 W/m: 50 W, 65 W with margin, 5.4 A. Every supply-shopping decision falls out of those numbers.
Judgment enters at the edges. Voltage must match exactly — 12 V supplies for 12 V strips, no exceptions, margins apply to power and never to voltage. RGB and RGBW strips draw their maximum with all channels at full white, so that is the wattage that counts, not a mood-lighting average. And long runs raise a separate question the supply cannot answer — voltage drop along the strip — which has its own guide and its own fixes.
Prepare before testing
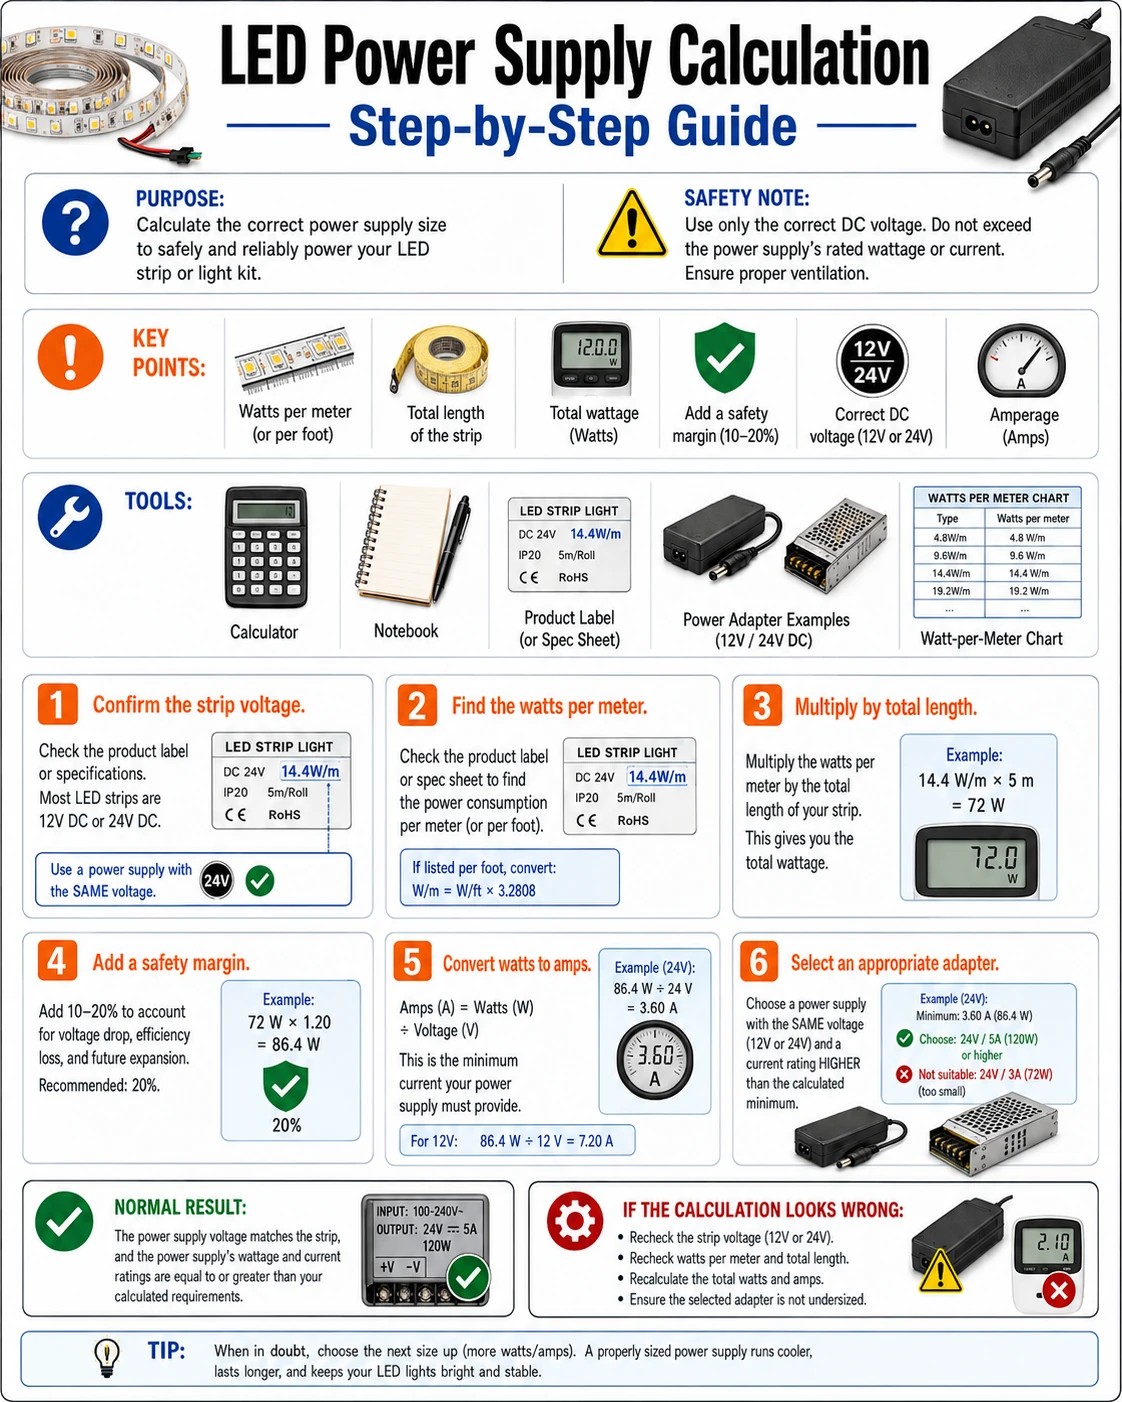
- The strip's label or listing — voltage and watts-per-meter are the two input facts
- A tape measure — planned length including spurs and future extensions
- Calculator or phone — four lines deserve exact numbers, not shelf-side estimates
- The controller's spec sheet — total and per-channel current ceilings must exceed the load
Matching voltage is safety-adjacent: a 24 V supply on a 12 V strip is a brief bright mistake. Buy supplies with genuine certifications, fuse ratings that match the math, and enclosures suited to the install location — a sealed cabinet and a ventilated shelf are different thermal worlds.
Check these areas first
- Tail dimming and warm-white drift. an undersized supply sags exactly when all channels ask at once
- Adapter mortality. supplies run at 100% of rating live hot and die young — margin is lifespan
- Controller bottleneck. a generous supply behind a controller rated below the load moves the fire, not the fix
- Multi-strip growth. each added spur re-runs the arithmetic; the original adapter rarely anticipated the extension
- Inrush and cold starts. long strips at switch-on demand a surge the label never mentions — margin absorbs it
Diagnostic procedure
Confirm voltage, total the watts, add the margin, convert to amps, check the controller, then sanity-check the environment — six short steps that end in a shopping specification.
Fix the system voltage
Read the strip's rated voltage — 5, 12 or 24 V are the common families — and write it down as the non-negotiable. Every component bought after this line (supply, controller, dimmer module) matches it exactly. Mixed-voltage 'it fits the plug' accidents are the most expensive category of strip mistake.
Total the load in watts
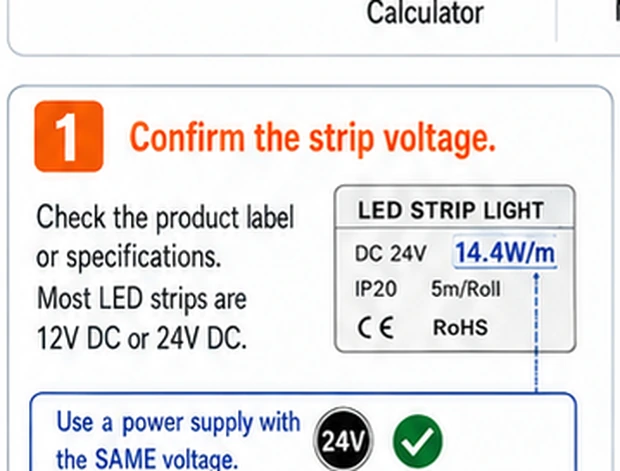
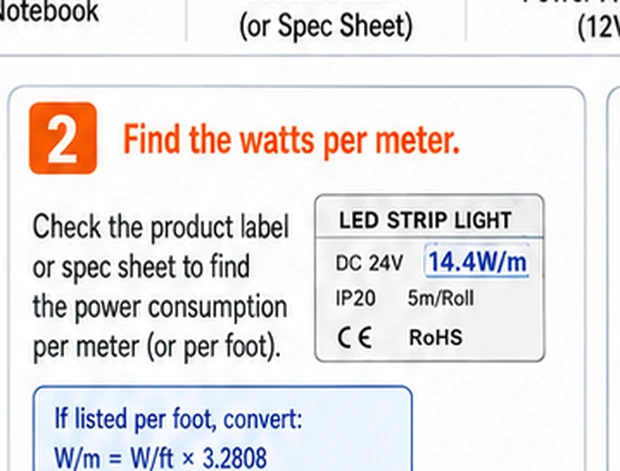
Watts per meter times metres, from the label, at full white — the maximum the strip can ask. Multiple strips or spurs on one supply: sum them all. If the label offers a range ('up to 12 W/m'), use the top number; optimistic labels underprice reality often enough that the margin step exists partly to forgive them.
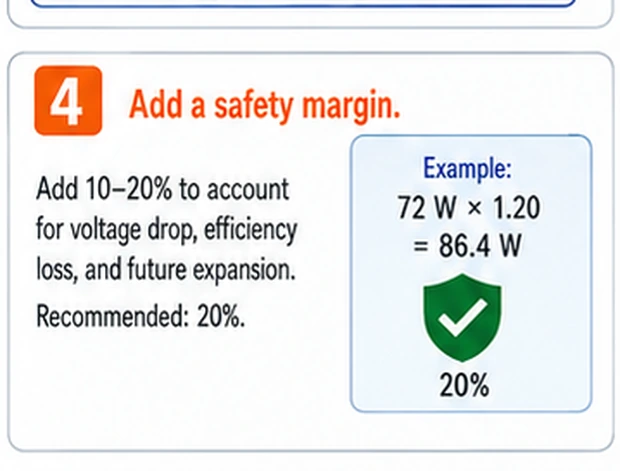
Add twenty to thirty percent margin
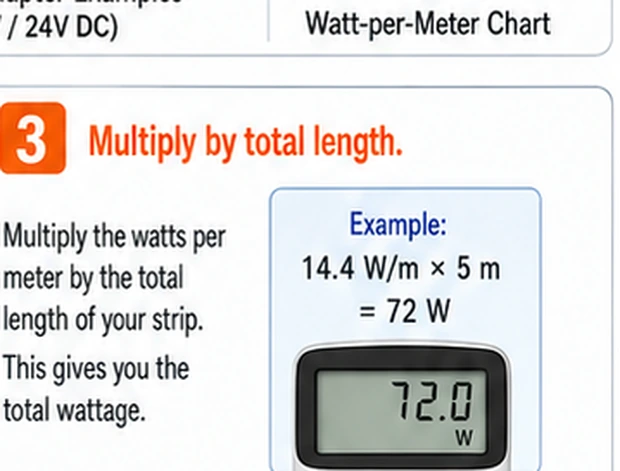
Multiply by 1.2–1.3. The margin absorbs label optimism, inrush at switch-on, aging capacitors' fading capacity, and warm environments' derating. Continuous-duty installs (cabinet lighting that runs all evening) and enclosed supplies earn the full 30%; a rarely-used accent strip on an open shelf can live with 20%.
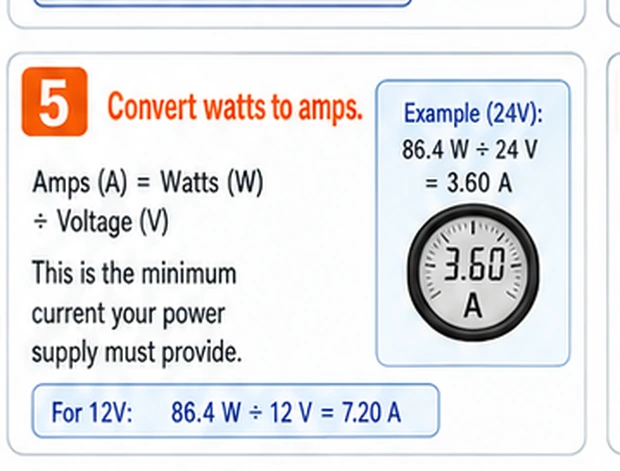
Convert to amps
Current = watts ÷ volts, using the margined watts. The 65 W example at 12 V wants 5.4 A. This is the number to compare against supply ratings ('12 V 6 A'), fuse values, connector ratings and wire gauge tables — power stresses the supply, but current stresses everything in between.
Check the controller's ceilings
Controllers carry two ratings: total current and per-channel current. The design current must clear the total; and on RGB/RGBW, a full-white command loads all channels at once, so per-channel ratings times channel count must also cover it. A controller below the load either throttles, overheats or fails — upgrading it costs less than the strip it protects.
Sanity-check the environment
Two final judgments. Placement: supplies in sealed boxes, warm ceilings or sun-struck cabinets derate — step up a size or relocate them to breathing space. Run length: past roughly five meters at 12 V (or three at 5 V), voltage drop along the strip becomes its own project — plan injection points per the wire-gauge guide rather than blaming the supply for physics.
Three common builds, calculated
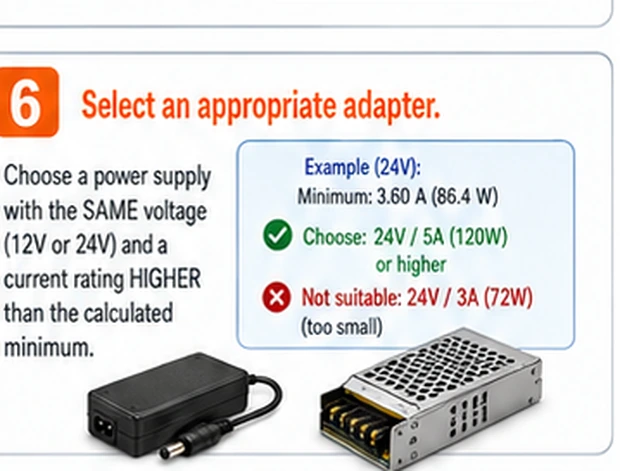
Desk backdrop: 2 m of 12 V RGB at 10 W/m — 20 W, 26 W margined, 2.2 A; a 12 V 3 A supply with a mini controller rated 4 A total clears everything with room. Kitchen cabinets: 4 m of 24 V white at 12 W/m — 48 W, 62 W margined, 2.6 A; 24 V 3 A works, but continuous evening duty argues for 24 V 4 A and the supply mounted above the cabinets, not sealed inside them. Media wall: 10 m of 12 V RGBIC at 14 W/m — 140 W, 182 W margined, 15.2 A; this is two-supply territory with mid-run injection, a controller rated 20 A, and the wire-gauge guide consulted before a single clip goes on the wall. The arithmetic is identical each time; only the numbers grow.
Separating ratings from wishes
A supply listing worth buying states voltage, current and wattage consistently (12 V × 6 A = 72 W — numbers that do not multiply are a warning), carries genuine safety marks, and specifies an operating temperature range. Prefer supplies whose rating you will use at 70–80%, from listings that mention protection features (over-current, over-temperature, short-circuit) by name. The bargain supply that matches your margined number exactly, with no headroom of its own, is the component this whole page exists to talk you out of.