
Long duty cycles, humid air, and one power chain
A grow light's power chain is short: outlet → timer or smart plug → cord and switch → driver (the sealed brick or built-in supply) → a low-voltage connector → the LED board. Total darkness means one link is fully open, and the links fail at predictable rates: control gear and timers first, drivers second, cords and connectors third, the LED board itself a distant last — dozens of parallel LEDs do not all die at once.
The tent environment deserves early suspicion too. Humidity condenses on cold gear at lights-on, drips find drivers mounted flat, and a driver's thermal or short-circuit protection may be doing exactly its job. A light that clicks on for an instant and dies, or that returns after cooling, is protecting itself — note that behavior, because it changes the diagnosis from 'dead' to 'tripping', and the fix from replacement to cause-hunting.
Prepare before testing
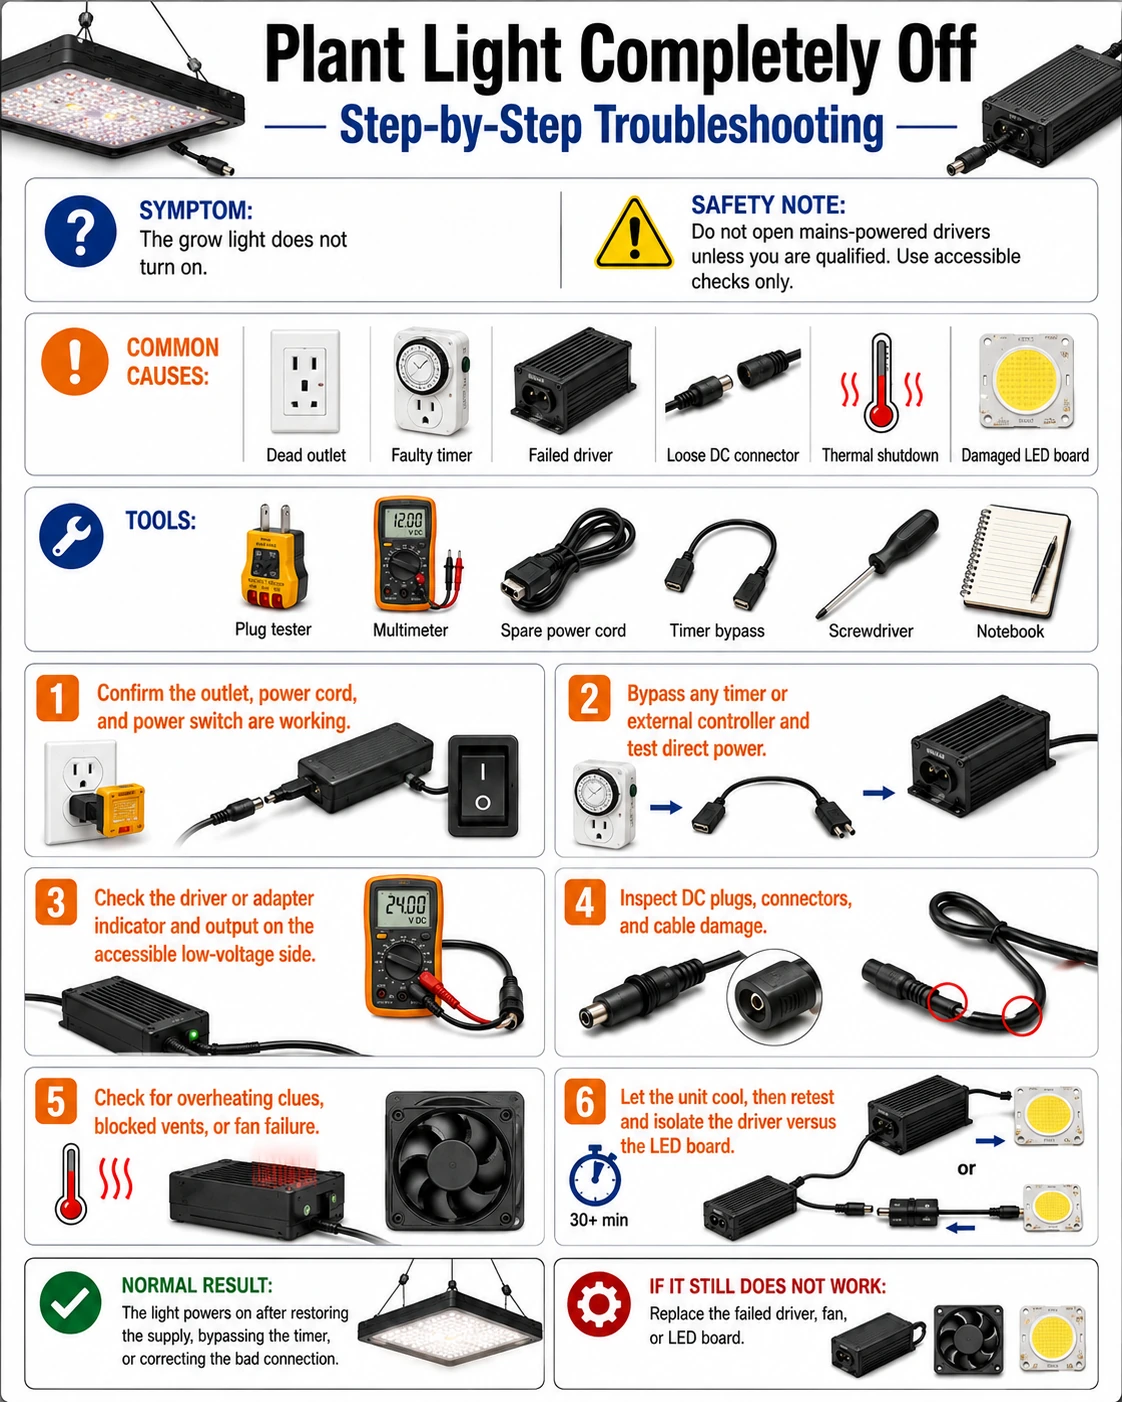
- A known-good outlet away from the tent — removes timer, strip and circuit questions in one move
- Phone flashlight — driver indicator LEDs and connector pins hide in canopy shade
- Small screwdriver — for hood/connector access covers — not for opening sealed drivers
- Plug-in power meter (optional) — zero watts at the wall versus some watts splits the fault instantly
Never open a sealed LED driver — mains-level capacitors hold charge after unplugging. All checks here are external: observation, reseating accessible connectors, and substitution by matching spec.
Check these areas first
- Timer or smart plug schedule. a mis-set sunrise schedule or an offline smart plug is the top cause and the free fix
- Cord, plug or inline switch damage. shelf edges crush cords; inline rocker switches wear loose and open the line
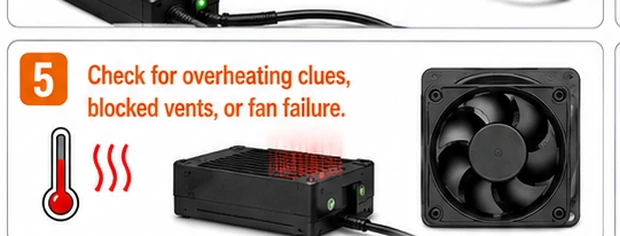
- Driver failure or protection trip. the driver is the hardest-working part; heat and humidity age it fastest
- Unseated driver-to-board connector. keyed low-voltage plugs walk out with vibration and hood adjustments
- Dimming or link line holding output at zero. a 0-10 V lead, master-slave cable or knob left at minimum reads as 'dead' at a glance
Diagnostic procedure
From the wall inward, one link per step. The order matters because each early step is free and each later one costs either a part or a matched spare.
Bypass every controller between wall and light
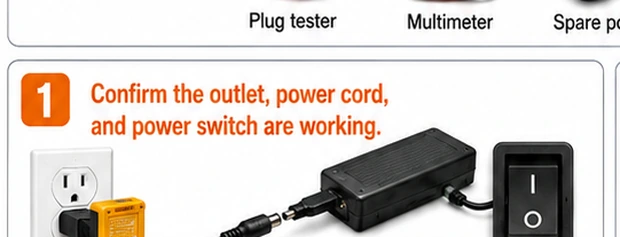
Unplug the light from its timer, smart plug or power strip and connect it directly to a known-good outlet in another room. Flip any inline or hood switch fully. If it lights, the light was never broken — audit the timer's schedule, the smart plug's connectivity, and the strip's own breaker before rebuilding the chain.
Inspect plug, cord and inline switch
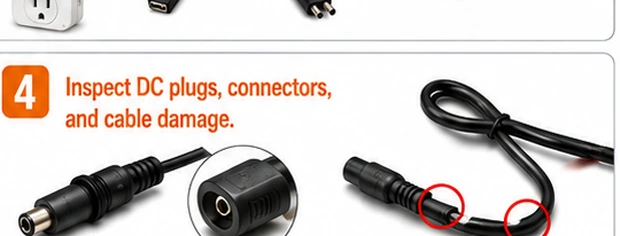
With the light unplugged, run the cord end to end: crush marks where shelving pinched it, stiff or discolored sections, a plug with heat-browned pins, an inline switch that rattles or flips with no resistance. Flex gently at suspect points. Cord and switch damage on a wet-room appliance is a replace-the-part decision, not a tape decision.
Read the driver's behavior at power-on
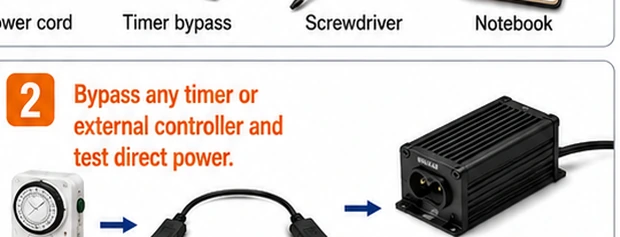
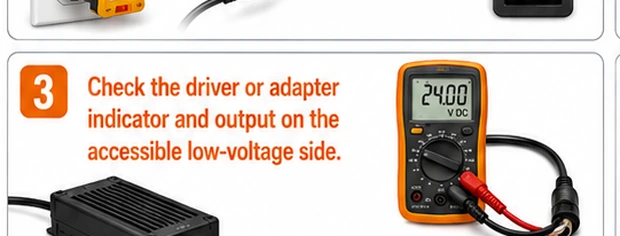
Plug in and watch the driver (external brick or the housing near the cord entry): an indicator LED, a faint click, a moment of fan life. Three behaviors, three verdicts: totally inert suggests driver or upstream; a blink-then-dead cycle repeating every second or two is protection tripping — look for shorts or heat; normal indicators with a dark board moves suspicion downstream.
Reseat the driver-to-board connector
Unplug first. Find the keyed low-voltage connector between driver and LED board (often under a small cover or at the hood edge), release its latch, and inspect pins for corrosion bloom, backed-out pins or melted keying. Reseat until it clicks, then test. In humid tents this joint corrodes years before anything else downstream.
Zero out dimming and link-line explanations
If the light has a dimming knob, 0-10 V socket, or master-slave link ports: set the knob to maximum, unplug all link and dimmer leads, and power up in factory-default standalone state. A controller holding the dim line low, or a half-dead daisy chain, produces a perfectly healthy light that emits nothing.
Cross-test with matched components
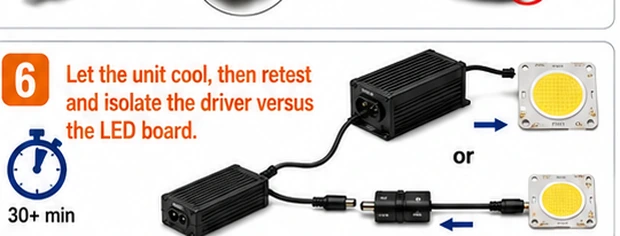
If a matching spare exists (same model, or a driver with identical voltage/current spec), substitute one element at a time: known-good driver onto this board, or this driver onto a known-good board. One swap per test. The combination that lights names the dead half; order the exact replacement part rather than a 'compatible' guess.
When only some LEDs or one zone is out
A board with dark patches while the rest runs is a different fault family: grow boards wire LEDs in series strings, and one failed LED or cracked solder joint darkens exactly its own string — a crisp rectangular or line-shaped dead zone. Check first whether the fixture has separate channels (veg/bloom switches, red/white channels) and whether a channel switch or its connector explains the pattern. A true dead string on a single-channel board means board-level repair: possible for the solder-capable using the bead-replacement guide, but on a fixture under warranty, a dark string is a warranty claim, not a soldering project — opening the fixture usually voids it.
Grow-light economics
Replaceable external drivers make the repair decision easy: a matched driver costs a fraction of the fixture and takes five minutes to swap. Built-in-driver fixtures shift the math toward replacement once the driver dies, unless the maker sells the module as a spare. Whatever the verdict, fix the environment that killed the part: drivers mounted outside the tent run cooler and drier, drip loops keep condensation out of connectors, and a light that tripped protection deserves a dust-cleaning and airflow check before it returns to an eighteen-hour shift.