
Read the flicker pattern before touching anything
Four patterns cover nearly every case. Random on-off blinking of the whole strip is a power interruption — plug, joint or dying supply. A slow wave of brightness, often worse when other appliances switch on, is a supply sagging under load. Shimmer that only shows on a phone camera is PWM dimming and is normal. Flicker only at low brightness settings is the controller's dimming curve fighting the LED driver, common when a smart dimmer module was added to the chain.
One more distinction saves a lot of time: note whether the whole strip flickers together or only one zone. Whole-strip flicker lives upstream of the strip — supply, plug or controller. Zone flicker on an addressable strip is a data or ground fault at the boundary of the affected zone.
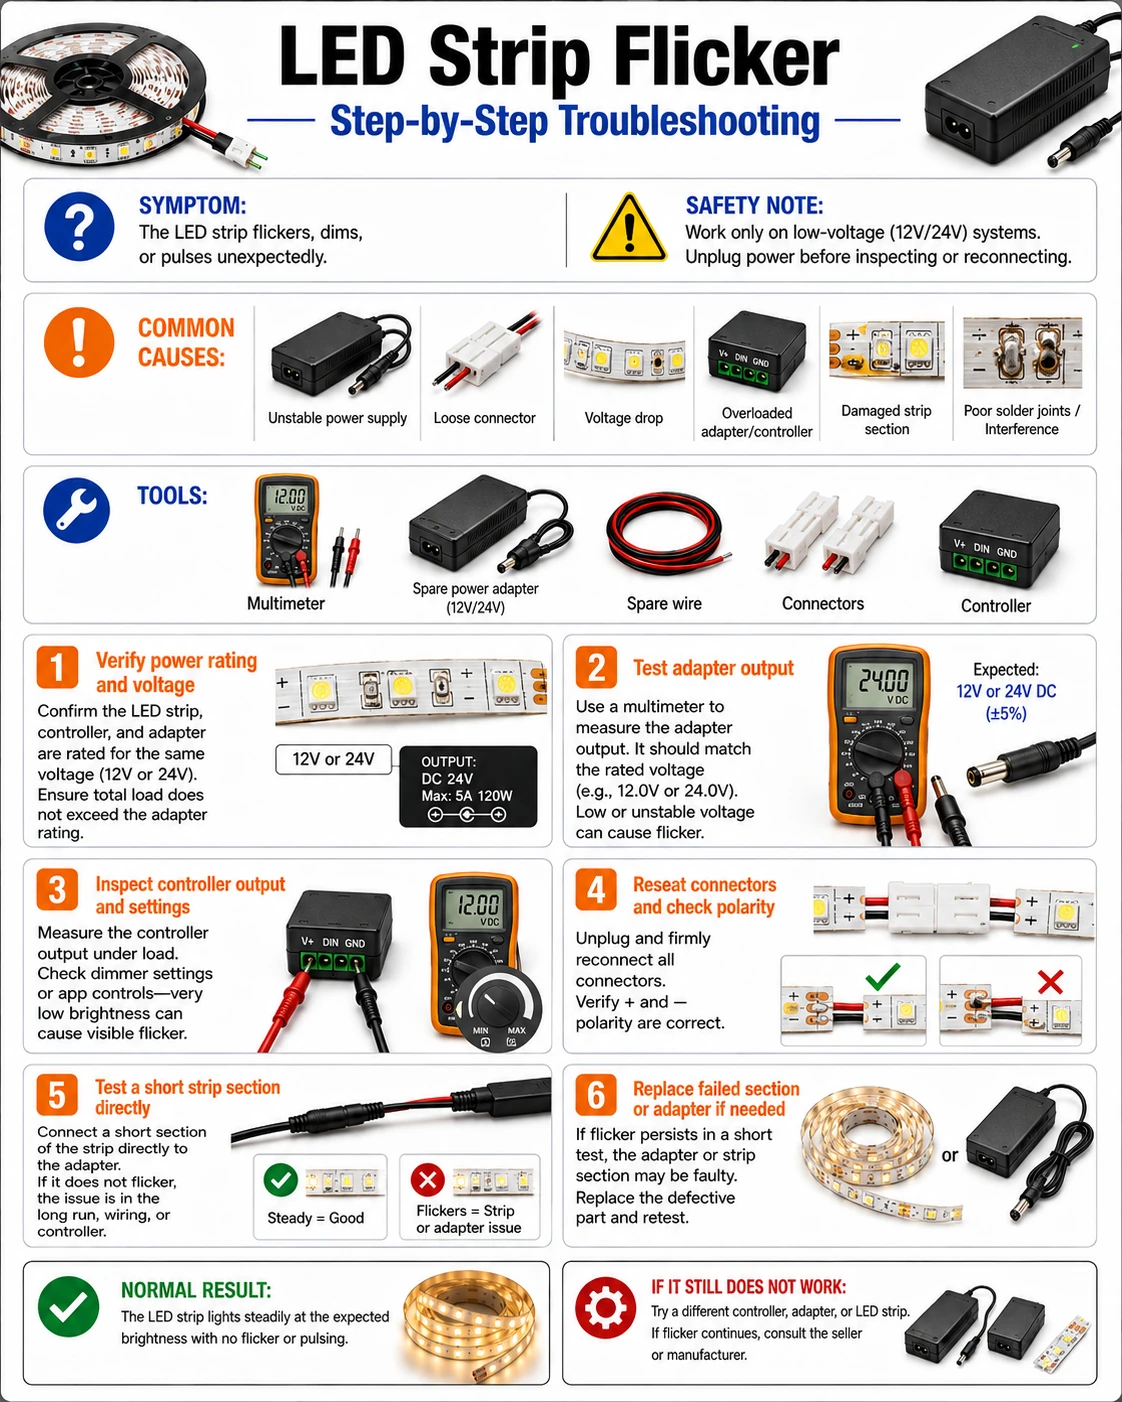
Prepare before testing
- Digital multimeter — DC volts for supply checks; a min/max hold function is ideal for catching dips
- Phone camera — PWM shimmer invisible to the eye shows as rolling bands on screen
- Spare adapter of matched voltage — substitution is the definitive supply test
- Contact cleaner or isopropyl alcohol — oxidized barrel plugs and clip connectors cause intermittent contact
If flicker is accompanied by a buzzing adapter, a hot plug, or any burnt smell, stop testing and replace the supply — an arcing connection is a fire risk, not a nuisance.
Check these areas first
- Supply voltage sagging under load. an aging adapter holds 12 V unloaded but dips whenever the strip demands full current, producing rhythmic dimming
- Intermittent contact. oxidized barrel plugs, half-clipped solderless connectors and cracked solder joints make and break contact with vibration or temperature
- Dimmer incompatibility. TRIAC wall dimmers and cheap PWM modules fight the constant-voltage driver at the bottom of the range
- Shared or poor ground on addressable strips. a data signal referenced to a noisy ground corrupts frames and shows as sparkle or zone flicker
- Controller output stage failing. water ingress or heat damage makes the controller drop frames or cut output for fractions of a second
Diagnostic procedure
Start with the pattern observation, then test the supply chain in order — most flicker cases close at step two or three without any soldering.
Drop brightness to 30% and note the pattern
Set a static color at about a third brightness and watch for two minutes. Note: whole strip or one zone, rhythmic or random, constant or triggered by touching the cable. This single observation decides which of the remaining steps matter and which you can skip.
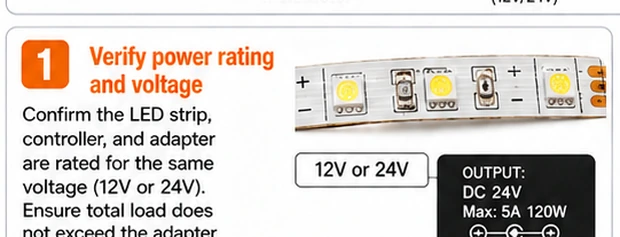
Measure supply voltage at full brightness
Meter on the DC output while the strip runs full white — the worst-case load. A healthy system stays within five percent of nominal. If voltage dips when flicker happens, or sits more than a volt low, the supply or its wiring is undersized or failing.
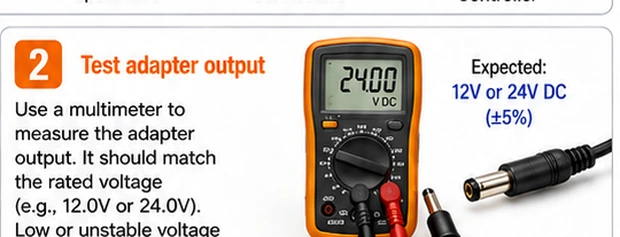
Wiggle-test every connection in the chain
With the strip running, gently flex the barrel plug, each clip connector and the first solder joint. Flicker that follows your finger is an intermittent contact. Reseat clips so teeth bite the copper pads, clean oxidized plugs, and resolder any joint that responds to pressure.
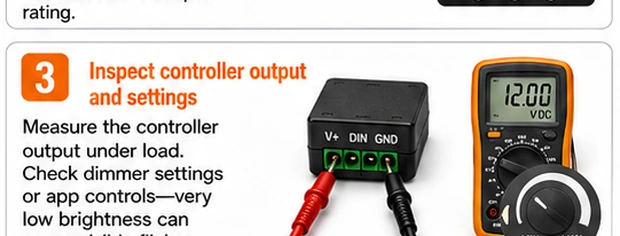
Check ground continuity on RGBIC strips
Addressable strips flicker when data and power grounds differ. If you have extended the strip or injected power mid-run, confirm every supply's negative ties back to a common ground, and that the data line's ground reference is unbroken across joints.
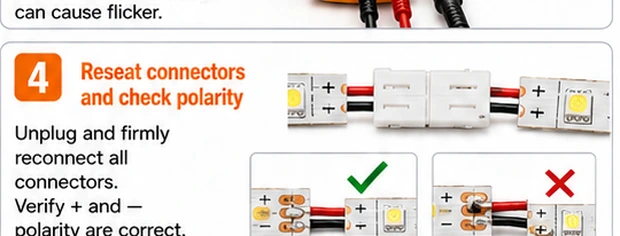
Substitute the supply, then the controller
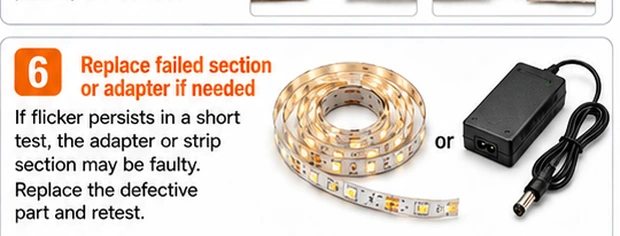
Swap in a known-good adapter first; supplies fail far more often than controllers. If flicker persists, swap the controller while keeping the original supply. One substitution per test, and give each configuration a few minutes, since thermal faults need time to reappear.
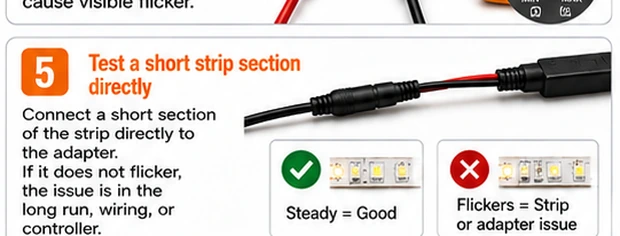
Isolate a persistent fixed-position flicker
If one zone still flickers, cut the strip at the nearest cut line upstream of the zone and test the remainder. A fault that stays with the same physical segment is damage inside that segment — replace it rather than chasing it further.
When flicker is not a fault
A strip that looks steady to the eye but shows rolling bands through a phone camera is doing PWM dimming exactly as designed: the LEDs switch far faster than human vision resolves, and the camera's rolling shutter beats against that frequency. It needs no repair. It only matters if you film video under the strip — in that case raise brightness toward full, where many controllers widen the pulse enough to disappear on camera, or shift the camera's shutter speed.
Closing the case
Replace adapters and no-name PWM dimmer modules without sentiment; both are commodity parts whose failure modes are exactly this symptom. A controller that flickers only at low brightness but is steady above half output can stay in service if the low range does not matter to you. Strip segments with position-locked flicker are worth cutting out only on 12/24 V analog strips — on a densely addressable strip, replacing the whole run is usually less work than splicing three joints.