
Smell is the earliest sensor you own
Overheating electronics announce themselves in a reliable order: a sweetish-acrid smell first, discoloration second, deformation third, smoke last. Acting at stage one usually means one cheap component and an afternoon; at stage three it means harnesses, melted connectors and sometimes scorched furniture. The rule is absolute — the smell is never 'normal', never 'just new-product smell' after the first days, and never something to monitor with the power still on.
Heat in low-voltage lighting comes from exactly three economies: resistance where it should not be (loose terminals, corroded plugs, undersized wire), power beyond rating (a supply or controller run at or past its ceiling), and cooling removed (strips sealed under insulation, drivers buried in cushions of dust). Every burnt-smell case resolves into one of the three — the diagnosis is finding which, at the specific hot point.
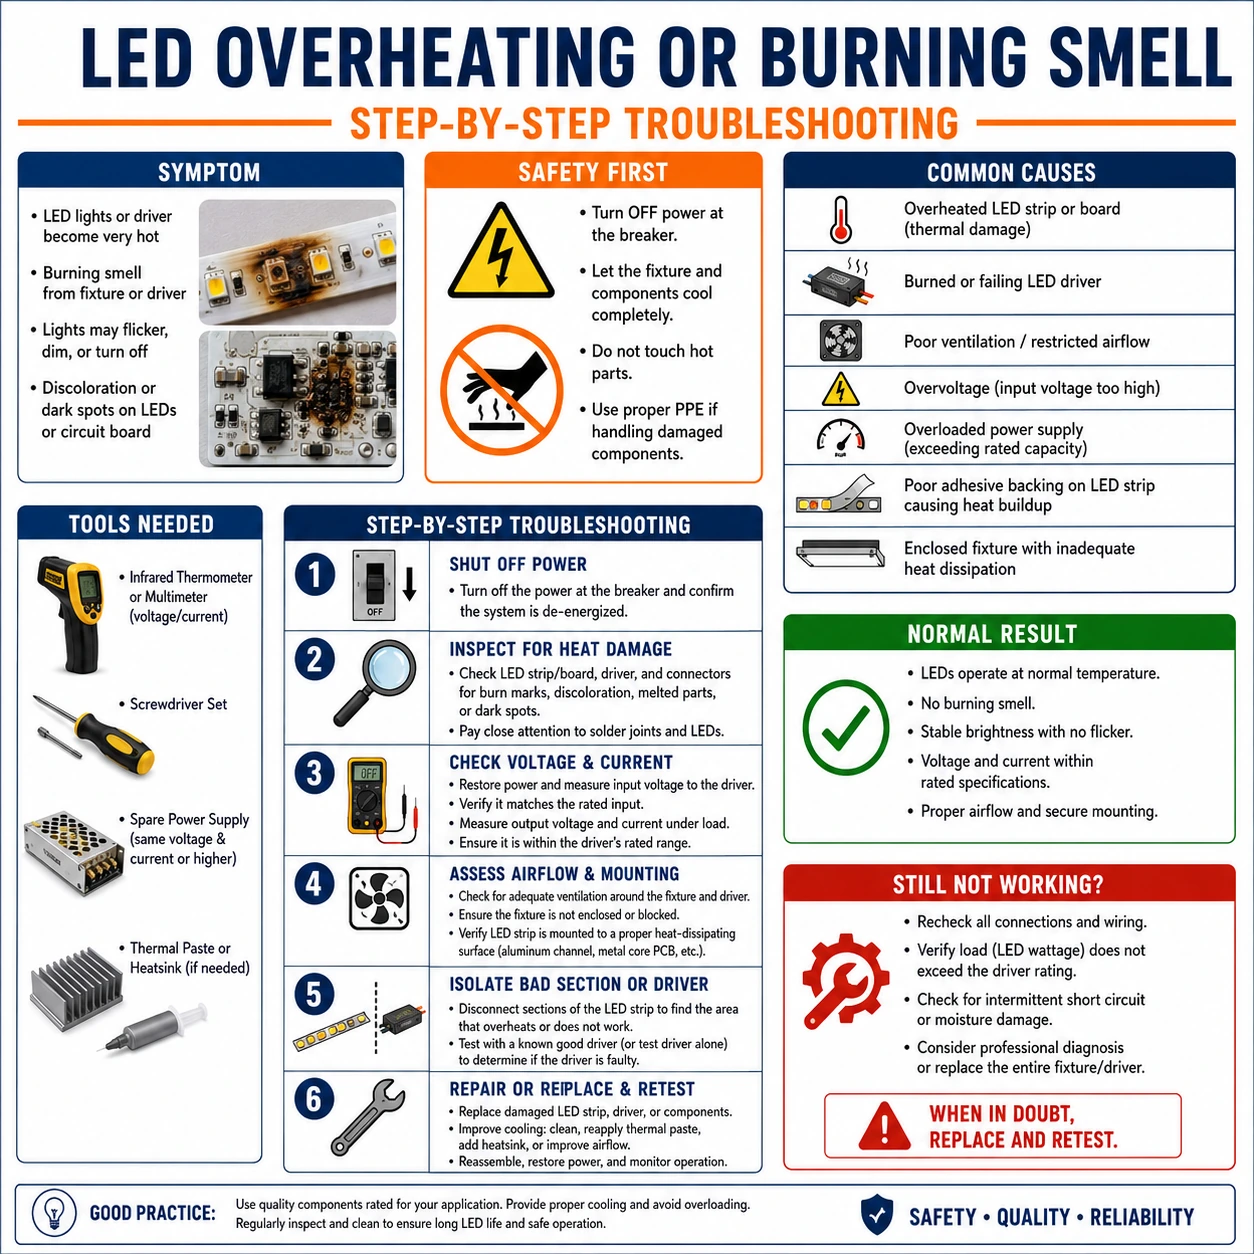
Prepare before testing
- Your nose and the back of your hand — the locating instruments — used within minutes of shutdown, by proximity not contact
- Flashlight and magnifier — browning, gloss changes and melted insulation start subtle
- Plug-in power meter or the labels — real load versus rated capacity is the overload check
- Screwdriver for terminal checks (power off) — loose screw terminals are the single most common resistive point
Cut power at the source the moment smell is confirmed — plug pulled or breaker off, not just the app. Let everything cool before touching; melted plastic holds heat. Anything mains-side that shows heat damage (plugs, wall adapters, junctions) is electrician-or-replace territory, never tape-and-continue.
Check these areas first
- Loose or corroded terminal. contact resistance turns the connection itself into a heater — screw terminals loosen with thermal cycling
- Supply or controller at its ceiling. components run at 100% of rating live hot and die early; past it, they cook
- Cooling removed after installation. strips sealed under trim or insulation, drivers buried in dust or bedding
- Undersized wiring for the current. thin extension leads warm along their whole length under full load
- A failing component heating itself. shorted LED segments, dying capacitors and water-damaged sections self-heat before failing
Diagnostic procedure
Isolate first, hunt the hot spot while it is warm, then diagnose the cause behind it — connection, overload or cooling — and replace what heat has already changed.
Cut power and freeze the scene
Disconnect at the wall or breaker immediately — apps and remotes leave supplies energized. Note what was running: which mode, what brightness, how long. Do not reorganize or unplug anything else yet; the layout as it stands is the map for the hot-spot hunt in the next step.
Locate the hot spot while evidence is fresh
Within a few minutes of shutdown, move along the installation with nose and near-hovering hand: supply bricks, controller, every connector, terminal blocks, then the strip or fixture body itself. Heat lingers at the guilty point long after neighbors cool. Mark the warmest, smelliest location with tape before it fades to ambient.
Read the visual damage
Under good light and magnification, inspect the marked zone and its neighbors: browning or yellowing of plastic, glossy remelted surfaces, insulation shrunk back from conductors, green corrosion under a warm plug, board areas darkened around one component. Photograph everything — the pictures also decide warranty conversations.
Check the load arithmetic
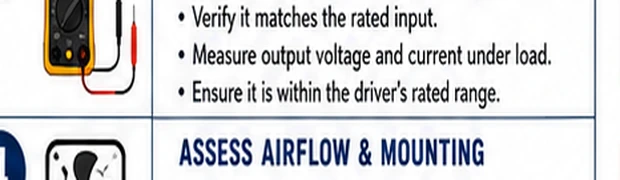
Compare real draw against ratings: strip wattage per meter times length versus the supply's label; total current versus the controller's ceiling; and the load on any single connector or splitter. A power meter reads the truth at the wall. Anything living at or above its rating is the overload answer — and 'it worked for a year' just means the margin took a year to erode.
Inspect connections at the hot point
Power still off: check the marked joint's mechanics — screw terminals for looseness, spring clips for fatigue, plugs for corrosion or partial insertion, solder joints for cracks. A connection that heated has usually already degraded its surroundings; re-terminating on browned, embrittled wire fails again — cut back to bright copper before remaking.
Restore cooling and replace the claimed parts
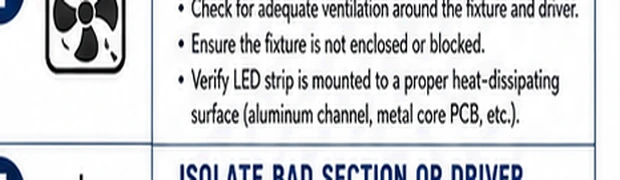
Fix the environment the heat revealed: unbury the driver, clear dust felts, give the supply ventilation gaps, and never re-seal a strip under insulating trim. Then replace — not patch — every component on the damage inventory: melted connectors, browned terminal blocks, heat-marked supplies, embrittled cable sections. Re-power at reduced brightness and re-walk the run with the hand test after ten minutes.
Why heat-damaged parts do not get second chances
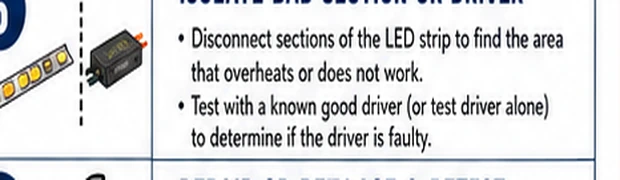
Heat changes materials permanently: plasticizers leave insulation (it cracks next month instead of this one), spring contacts lose temper and grip, capacitors dry toward failure, solder joints crystallize. A connector that melted and 'still works' is a component pre-loaded with its next failure — at the same spot, with less warning margin, possibly unattended. The economics agree: every part in a low-voltage lighting chain costs less than the furniture under it. The one legitimate patch is temporary isolation — cutting a damaged section out of service until its replacement arrives — never tape over the damage and resume.
The habit that prevents the smell entirely
Overheating case files share one biography: a system specified to exactly its load, then aged. The preventive habit is margin — supplies sized with 20–30% headroom over calculated draw, connectors rated above the current they will actually see, and wiring one gauge heavier on long runs (the supply-calculation and wire-gauge guides carry the arithmetic). Margin costs single-digit percentages at purchase and pays in two currencies: components running cooler age slower, and when something does drift — a joint loosening, a strip section failing — the margin absorbs the drift long enough for maintenance to find it instead of the nose.