
Enamel wire looks bare but is fully insulated
Copper fairy wire carries a transparent enamel coat; the metal you see is not electrically reachable. That single fact explains both the failure and the botched repairs: twisted or clamped joins conduct through a few flakes of scratched coating, work for a day, and die with the first temperature change. Any repair that skips deliberate enamel removal is decorative.
Location narrows to a shortlist before any testing: the exit from the battery box or USB pod (all the handling torque concentrates there), fold points from storage, anywhere a zip tie bit, and the root of individual beads. On lit strings the fault also announces its neighborhood — the last working bead marks the break's upstream side.
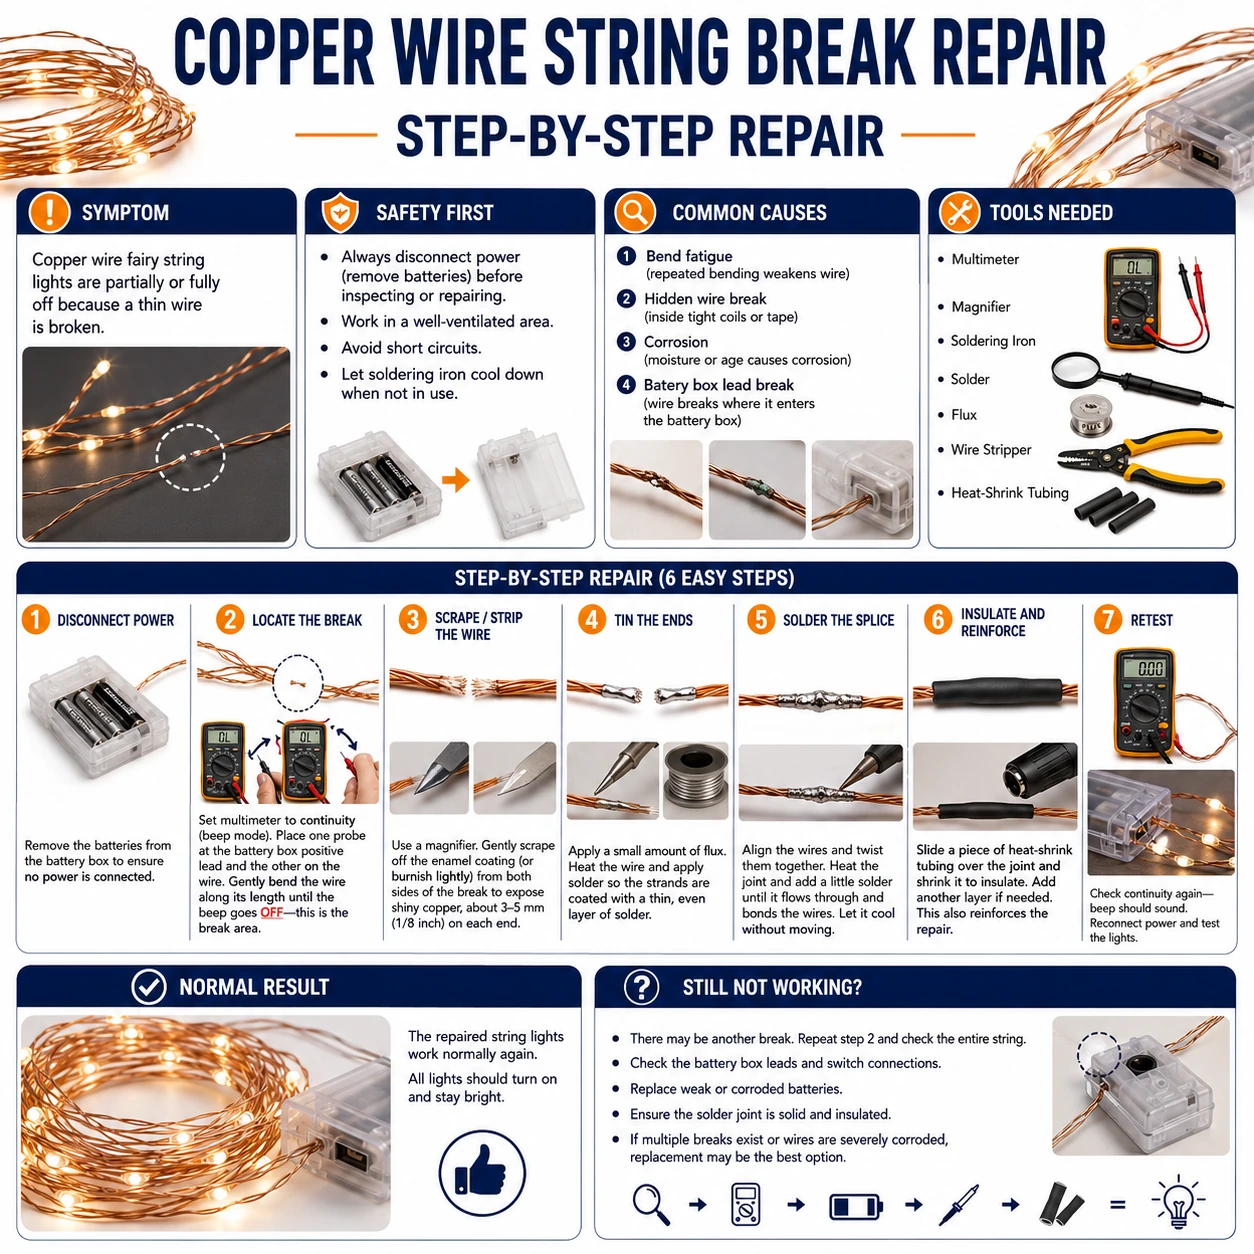
Prepare before testing
- Soldering iron with a fine tip — enamel wire joins need tinning; there is no mechanical-only fix that lasts
- Fine sandpaper (400+) or a blade — to strip enamel down to bright, tinnable copper
- Rosin flux and thin solder — flux helps solder wet the freshly stripped strands
- Clear heat-shrink or UV resin — insulation that keeps the string's look and adds stiffness at the joint
- Multimeter with continuity beeper — to confirm which conductor is broken and that the repair conducts
Battery and USB fairy strings are extra-low voltage — safe to handle. The only hazards are the iron and the fumes: ventilate while burning off enamel, which smokes acridly.
Check these areas first
- Fatigue break at the battery-box exit. the stiff pod meets the flexible wire and every bend concentrates there
- Fold-point fracture from storage. a winter folded into a drawer creases the copper past its fatigue limit
- Zip-tie or staple bite. clamping pressure cracks conductors invisibly inside intact-looking enamel
- Bead root failure. the wire enters each LED bead rigidly; a pulled string breaks at the entry
- Corrosion inside outdoor joints. moisture creeps under enamel at old repairs and eats the copper green
Diagnostic procedure
Find the break, expose real copper on both sides, tin before joining, keep polarity and data direction straight, then armor the joint — five minutes of soldering wrapped in ten minutes of preparation.
Locate the break with the last lit bead
Power the string and note where light stops — the break sits between the last lit and first dark bead. If nothing lights at all, the break is almost certainly within a hand's width of the battery box exit. Mark the suspect span with tape before powering off; unlit strings all look identical.
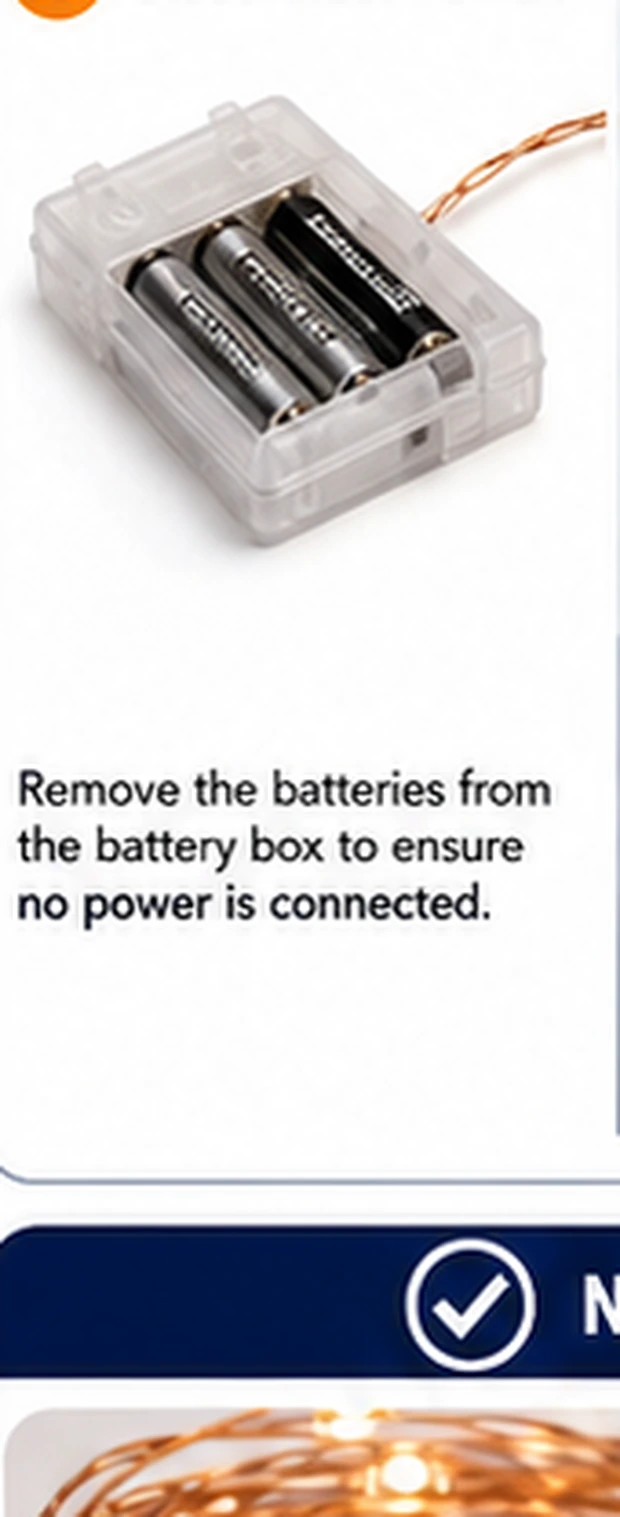
Inspect the high-stress points in that span
Examine the marked span at its usual suspects: sharp kinks, flattened spots under old zip ties, and bead roots that flex freely — a healthy root is stiff. Bend gently along the span and watch for a hinge point where the wire folds too easily; that hinge is copper broken inside intact enamel.
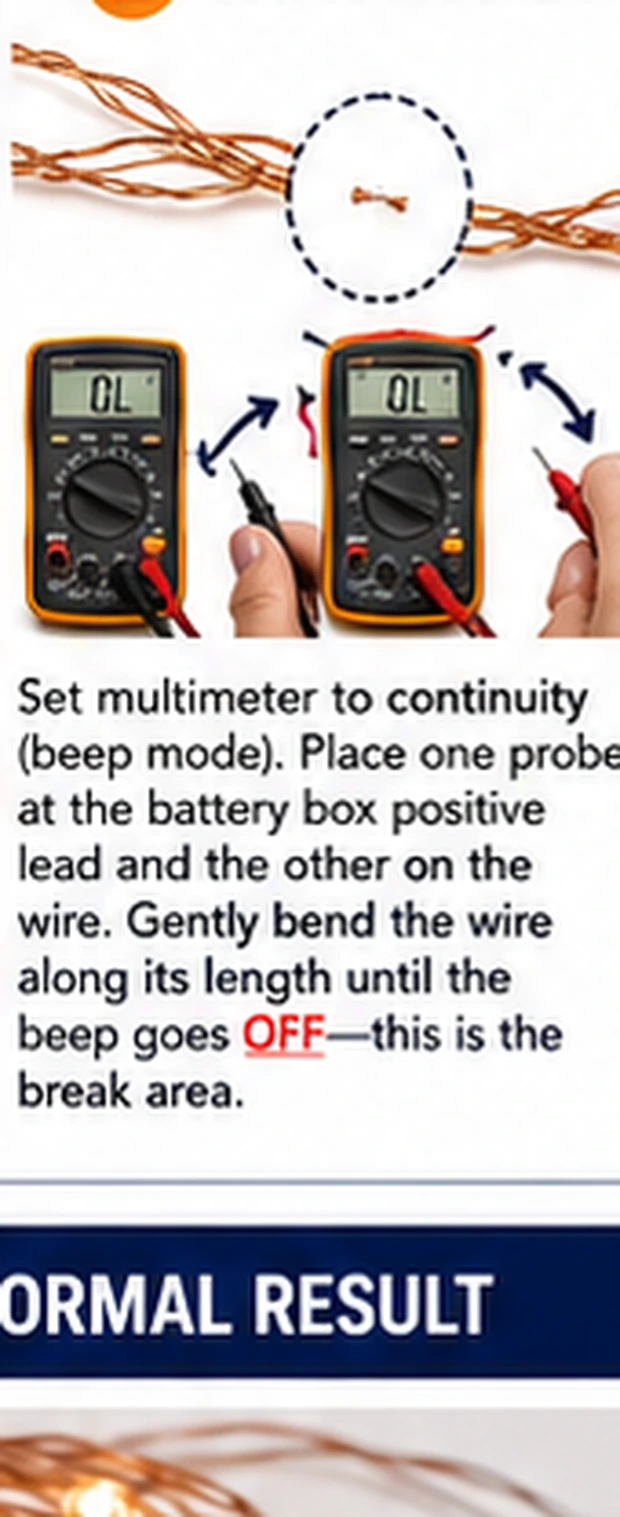
Confirm the dead conductor with the meter
Cut or expose access either side of the suspect point, sand a small window of enamel on each conductor, and beep continuity across the gap on each wire separately. Fairy strings run two conductors (or three on addressable types); knowing exactly which one is open prevents 'repairing' the healthy wire.
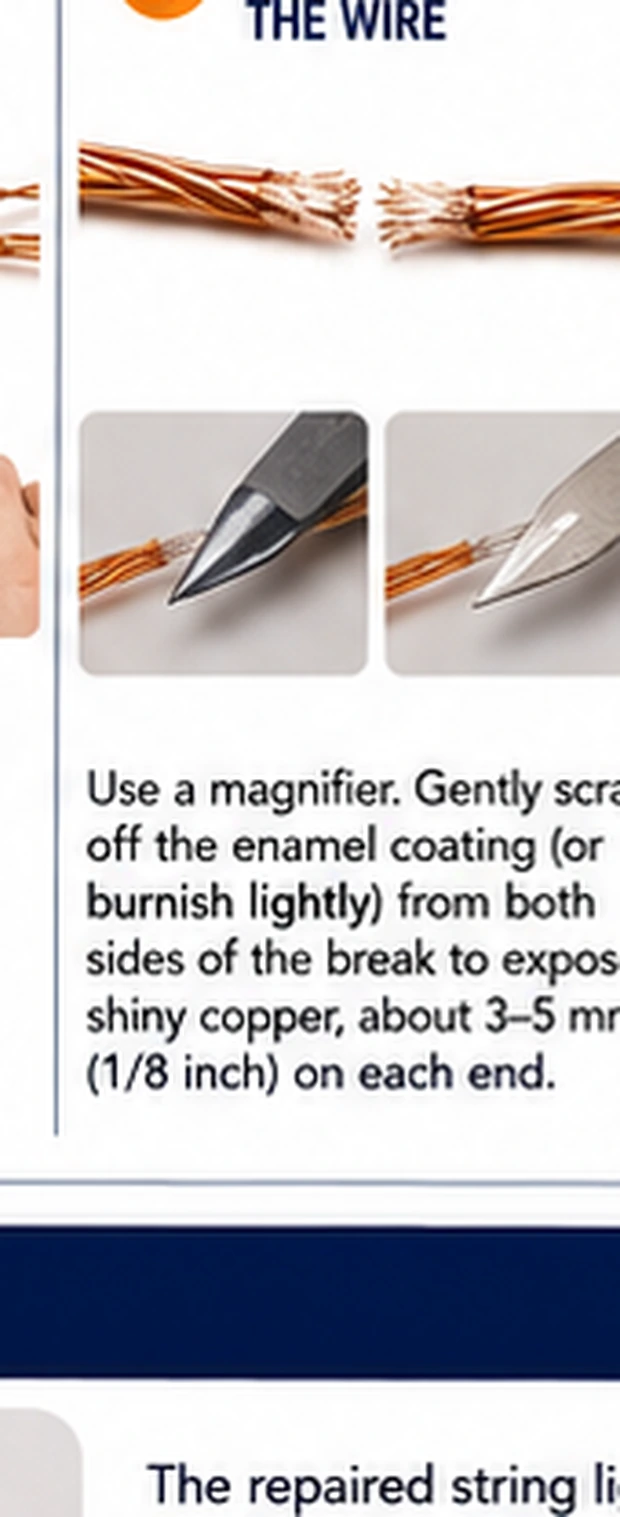
Strip enamel back to bright copper
On each end to be joined, remove 5–8 mm of enamel: fold sandpaper around the wire and rotate-pull until the strand shines bare on all sides, or scrape carefully with a blade. A hot, flux-wetted iron tip can burn coating off thin wire too. The test is visual — dull amber means coated; bright salmon-pink metal means ready.
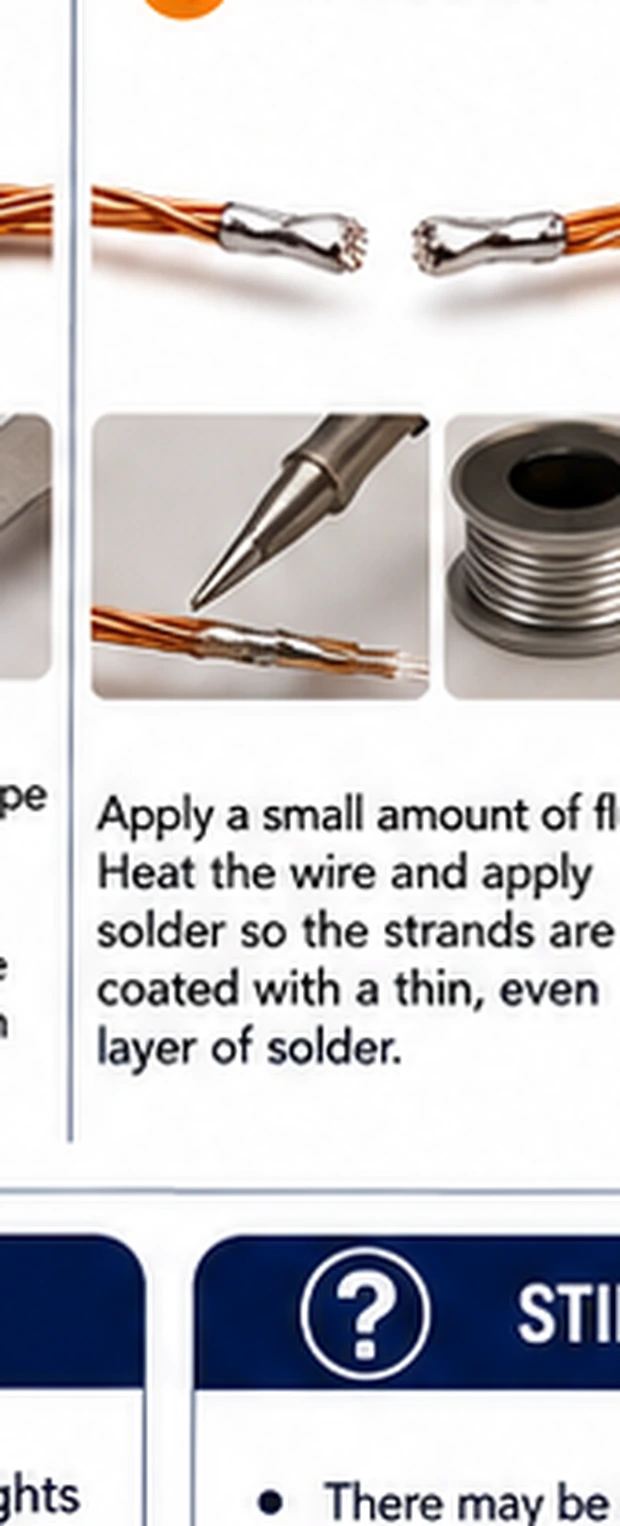
Tin both ends, then solder the join
Touch flux to each stripped end and tin it — solder should flow smooth and silver, not ball up. Lay matching ends side by side (same conductor to same conductor; on addressable strings preserve the direction of travel) and reflow the two tinned surfaces into one joint with a one-second press. Keep the two conductors' joints staggered so they cannot touch.
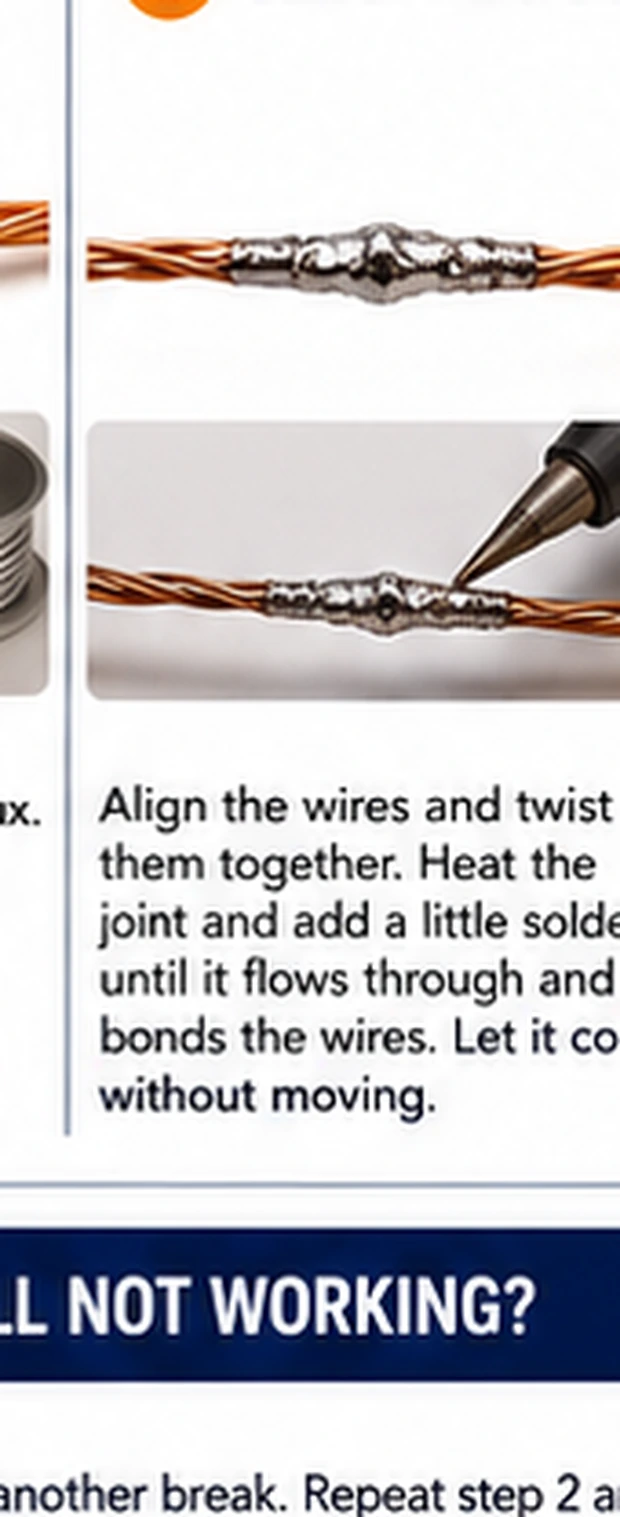
Insulate, stiffen and strain-relieve
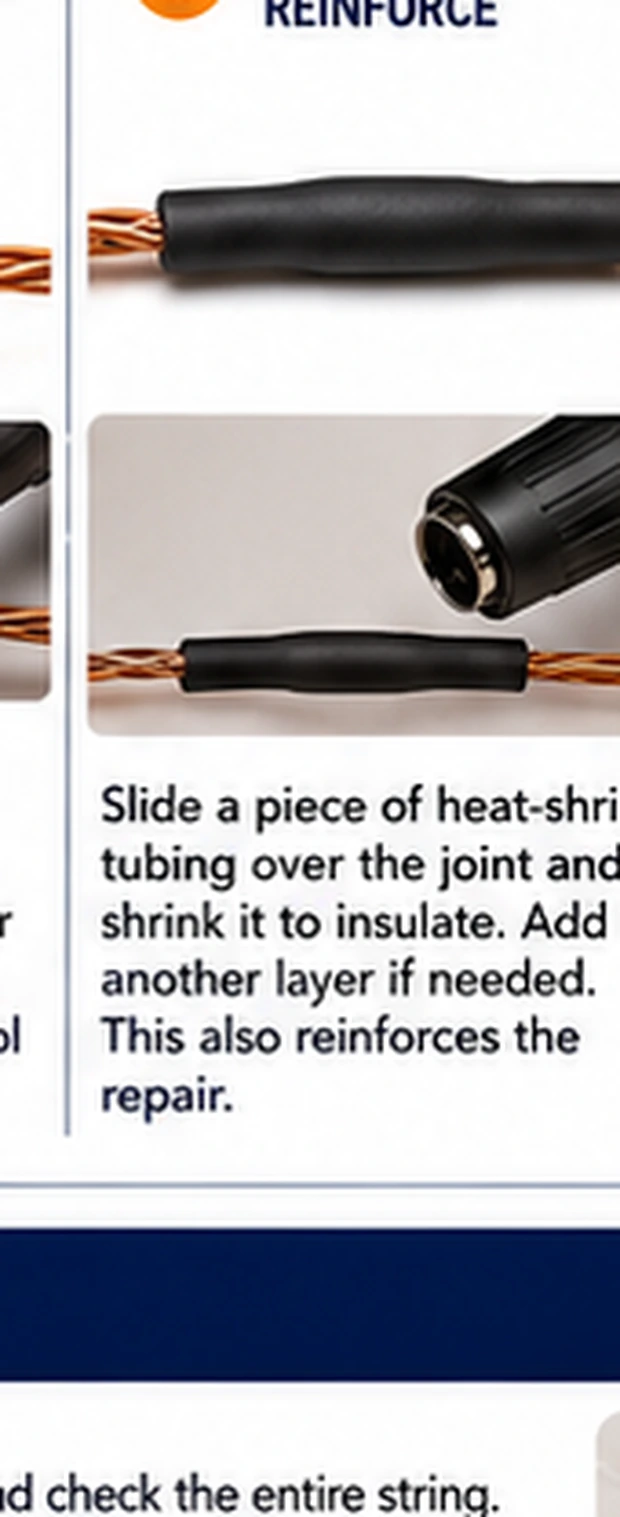
Slide clear heat-shrink over each joint (or coat with UV resin), then bind the repaired zone to relieve strain — a small loop of wire secured so tension pulls on the loop, not the joint. Reconnect power and flex the area gently: light should stay rock-steady. A repair that flickers when flexed conducts through touching strands, not solder — redo it.
The repair everyone tries first
Twisted enamel wire conducts only where the coating happened to scratch, through contact patches measured in fractions of a square millimeter. Oxidation grows across those patches within days, resistance climbs, and the string dims or dies — usually just after the repair earned trust. Tape adds no conduction at all; it just hides the process. The five extra minutes of sanding and soldering is not perfectionism, it is the minimum construction that survives thermal cycling on a conductor this thin.
Repair limits on a two-dollar wire
One clean break is a satisfying fix. A string that has broken in a second place is telling you its copper is fatigued along its whole length — every fold from storage is a future hinge — and a third repair is an arms race you lose. Retire multi-break strings to short-loop duty in a jar or lantern, where no flexing occurs, and spend the evening's remaining patience on a fresh string wound loosely for storage this time.