
Some fade is physics; a dark tail is a fault
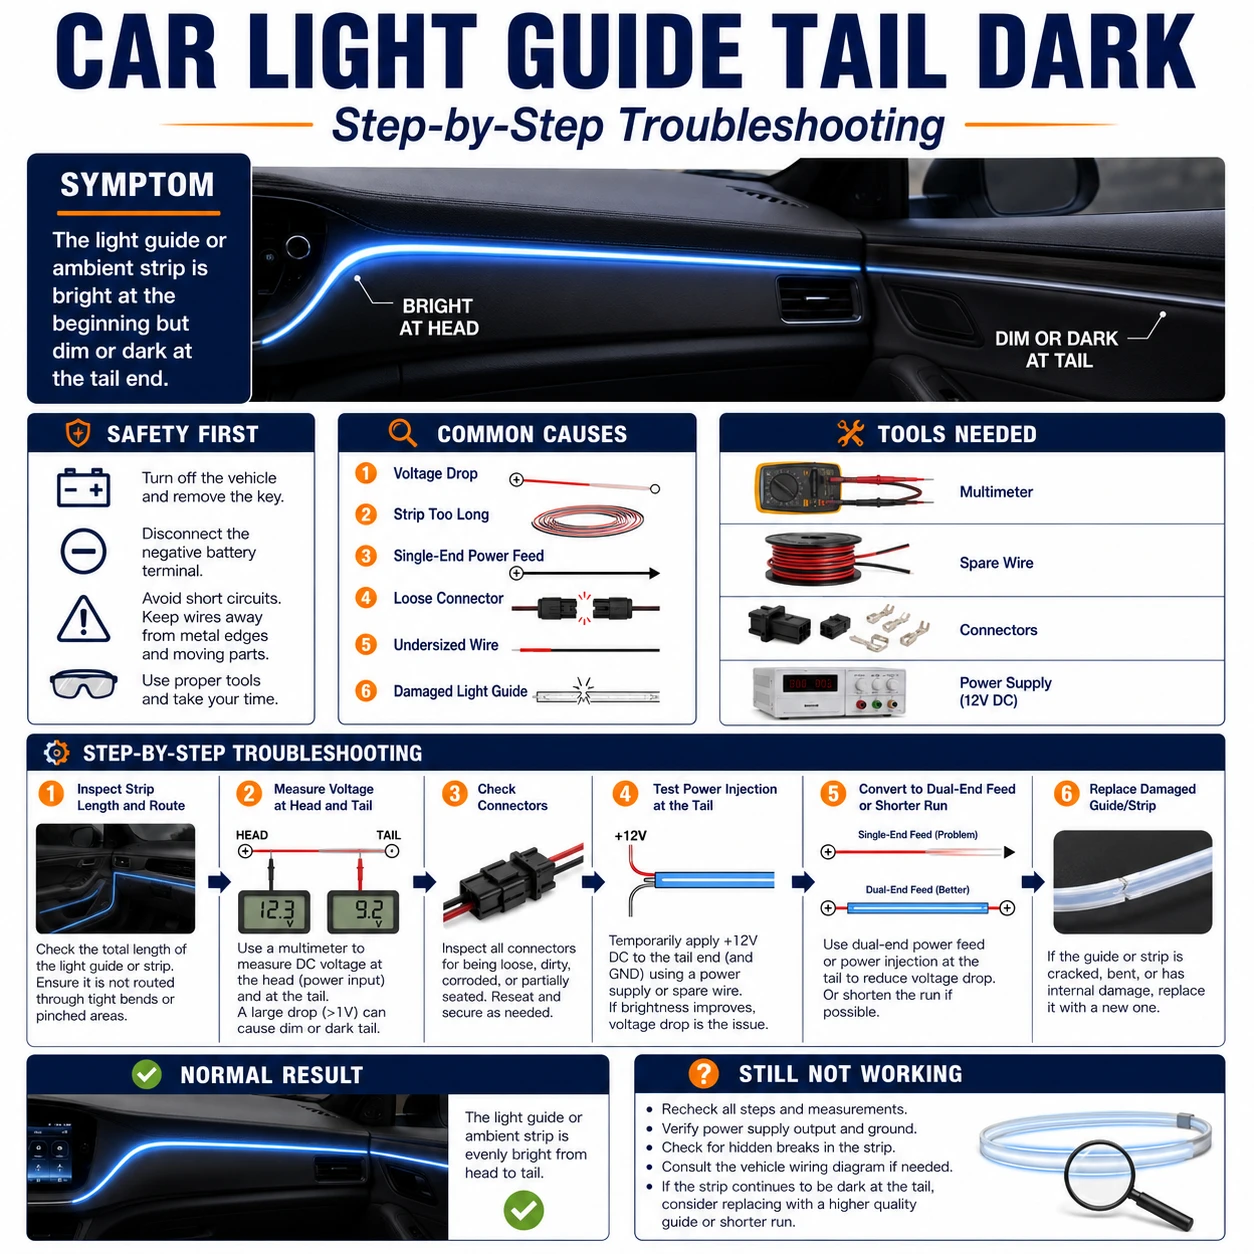
Every side-glow fiber attenuates — a gentle brightness taper over a long run is the medium behaving normally, and the honest first step is deciding whether what you see exceeds it. A guide that visibly dies halfway, has one bright leak point mid-run, or dimmed suddenly after door work is not exhibiting physics; it is exhibiting a coupling fault or mechanical damage.
The economics of this fault are friendly: most tail-dark cases are fixed free, by re-seating the fiber's end face against the LED or re-laying a pinched section. Cutting and re-facing costs centimeters of length; hardware money only enters if the run genuinely exceeds what single-end feeding can serve.
Prepare before testing
- Dark workspace or a night test — attenuation judgments are impossible under showroom light
- Sharp single-edge blade or fiber cutter — a clean square end face is the whole game in coupling
- Soft lint-free cloth and isopropyl alcohol — end-face haze steals more light than most damage
- Trim tools — the pinch points hide behind the very trim that shows the fiber
De-energize before pulling the fiber from its coupler. Cut fiber away from your hand, in one motion — sawing produces a frosted face that scatters half the light.
Check these areas first
- Fiber backed out of the coupler. vibration walks the end face away from the LED; a millimeter of gap costs a disproportionate share of light
- Dirty or hazed end face. dust, skin oil or a rough cut at the entry scatters light before it enters the run
- Tight-radius bend. below the fiber's minimum bend radius, light exits the side as a bright leak and the tail pays for it
- Crushed or clip-pinched section. over-tight clips and trim pressure deform the core; look for a bright spot at the pinch
- Run simply too long. beyond roughly 1.5–2 m of side-glow per LED source, tail dimming is design, not defect
Diagnostic procedure
Confirm the loss is abnormal, then chase it from the source outward: the coupling, the end face, the bends, the pinches — ending with the honest length assessment.
Grade the fade in real darkness
At night or with the car covered from ambient light, run steady full-brightness white and study the taper. An even, gentle decline over the full run is normal medium loss. A cliff — bright then suddenly dim — or any glowing hot spot mid-run marks a specific fault at that position and turns the rest of this guide into a targeted strike.

Pull and inspect the source coupling
Power off and withdraw the fiber from the LED coupler. Check that the end had been seated fully home — witness marks show how deep it sat — and that the LED sits centered where the fiber lands. Re-seat firmly until it bottoms; secure any lock ring. Off-axis or gapped coupling is the single most common tail-dark cause.

Clean and, if needed, re-face the entry
Wipe the fiber's end face with alcohol on lint-free cloth and inspect against light: it should be glassy. Any frost, scratch or yellowing — re-cut a few millimeters back with one decisive square stroke, so the new face is flat and perpendicular. Re-seat and retest before touching anything else.

Walk the run for bend violations
Trace the installed path looking for radii tighter than a few centimeters — typically at corners of the dash or door card where the install pulled the fiber taut. Tight bends betray themselves by glowing brighter than their neighbors. Re-lay offenders with a wider sweep, borrowing slack from straight sections.

Find and free crush points
Squeeze along clip lines and trim edges: a crushed section often shows as a flat spot, a whitened line, or a localized glow. Loosen over-tight clips, pad the channel where trim bears on the fiber, and where the core is visibly deformed, plan the cut — damaged sections scatter permanently and do not recover.

Assess length against single-end feeding
If coupling, bends and pinches all check clean and the tail still fades early, measure the run. Past roughly 1.5–2 m from one source, side-glow fiber runs out of light honestly. The remedies are structural: a brighter matched source module, splitting the run into two shorter fed sections, or feeding both ends from a Y-split source — matched to this kit, not improvised.

The long-run cure, done properly
Feeding both ends flattens the brightness curve for the same physical reason it exists: each half of the run only has to carry light half as far. Kits sold as dual-feed provide a Y-cable and a coupler for each end — use those parts, since improvising a second source of a different brightness or tint produces a run that meets in the middle with a visible seam. Where only one source is available, centering the coupler mid-run and feeding outward in both directions achieves the same halving with one LED, at the cost of routing the source cable to the middle of the trim.
What a healthy guide looks like
Even a perfect install is not laser-flat in brightness: a taper of perhaps a tenth over two meters reads as uniform to a passenger and honest to a meter. Chasing absolute uniformity beyond that leads to over-driving the source, which shortens LED life and shifts its color point. If the tail reads acceptably in the real use case — a dark cabin, eyes adapted — the system is done, whatever a phone camera's exposure suggests.